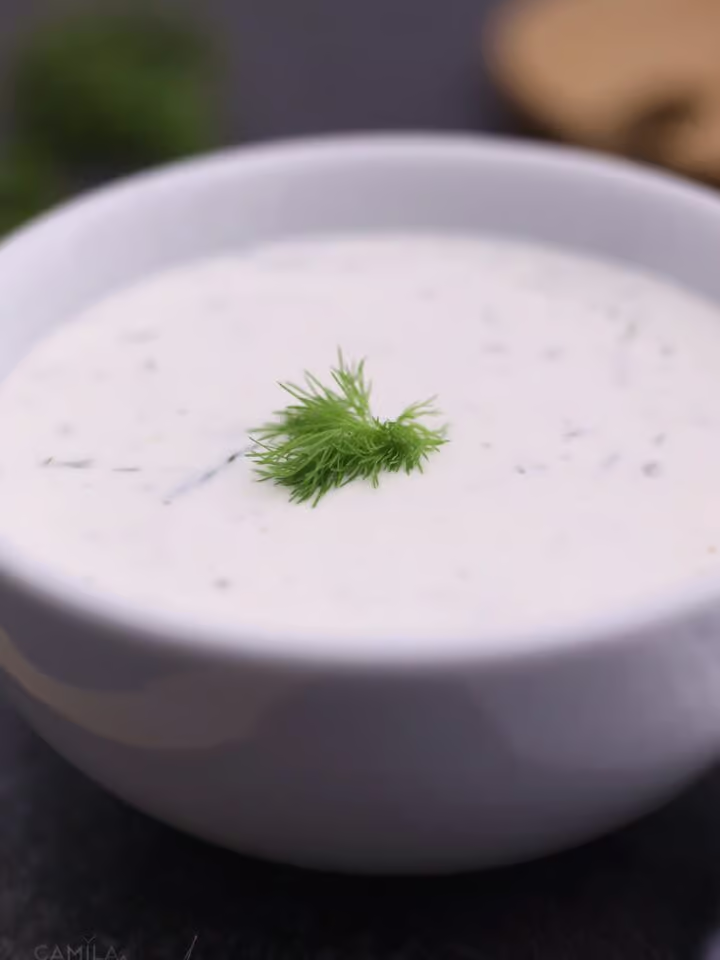
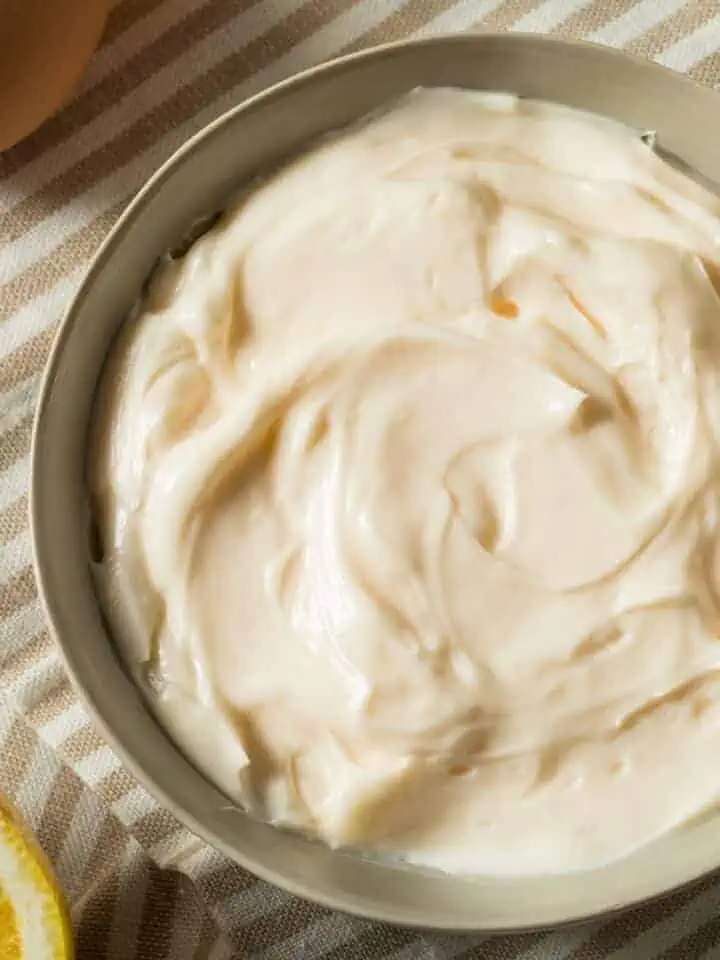
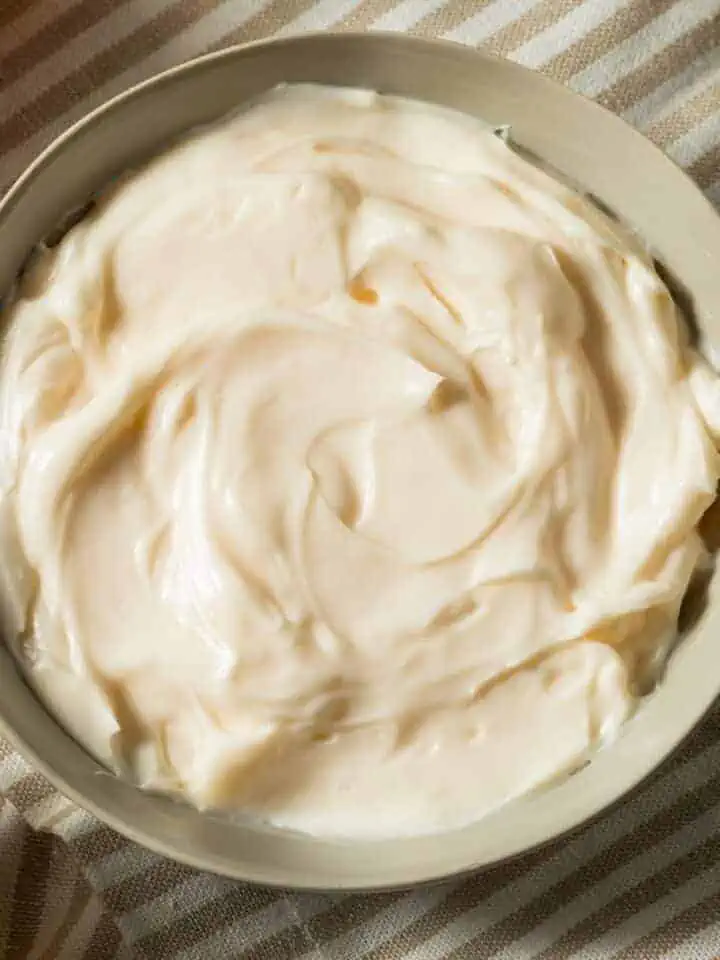
I've been making homemade mayo for years, and my family loves it. It's an easy process that yields a creamy, flavorful condiment perfect for enhancing various dishes.
Unlike store-bought mayonnaise, which often contains preservatives and additives, homemade mayo allows you to control the quality of ingredients.
Plus, it's lighter and healthier, as you can choose healthier oils and adjust the seasoning to your taste. The freshness of homemade mayo adds a vibrant flavor that can elevate any dish.
Whether you're spreading it on sandwiches, using it as a dip for veggies, or incorporating it into salads and dressings, homemade mayo brings a delicious richness to your food.
Try this homemade mayo recipe and taste the difference it can make in your meals. Once you've made it yourself, you might find it hard to go back to store-bought versions.
 विधि एक नज़र में
नोट: संपूर्ण निर्देश नीचे रेसिपी कार्ड में दिए गए हैं।
- Beat the yolks, vinegar, lemon, and dry mustard until frothy.
- Gradually add the oil, beating constantly.
- Add a bit of water as the mayo begins to stiffen.
- Add any additional seasoning or flavoring, such as lemon juice, Worcestershire sauce, or hot sauce.
- Serve the dressing at once or store it under refrigeration.
💡युक्तियाँ और सलाह
One of the great things about making homemade mayo is the ability to customize it with various flavors. Experiment by adding spices such as curry
or paprika, extra ingredients like garlic, grated ginger, lemon zest, and wasabi, or finely chopped herbs like cilantro, parsley, and chives.
और रेसिपी देखें:
- सुपर मसालेदार मैंगो हबानेरो सॉस
- सफ़ेद क्यूसो
- चिपोटल मेयो
- मसालेदार मीठी मिर्च की चटनी
- चिमिचुरी सॉस
- मेयोनेज़ आधारित ग्नोची
- टमाटर का सलाद
नुस्खा

आसान घर का बना मेयोनेज़
सामग्री
- 85 g (3 oz) pasteurized egg yolks
- 30 ml (2 बड़े चम्मच) सफेद सिरका
- ¼-2 चम्मच सूखी सरसों
- 720 ml (24 फ़्लूड आउंस) सूरजमुखी तेल या वनस्पति तेल
- ¼-2 चम्मच कोषर नमक , स्वाद के अनुसार समायोजित करें
- ½ छोटी चम्मच जमीन सफेद मिर्च , स्वाद के अनुसार समायोजित करें
- 30 ml (2 बड़े चम्मच) ताजा नींबू का रस , या आवश्यकतानुसार
अनुदेश
- जर्दी, सिरका और सरसों को फेंट लें: अंडे की जर्दी, सिरका और सरसों को तब तक फेंटें जब तक कि मिश्रण थोड़ा झागदार न हो जाए। यह कदम महत्वपूर्ण है क्योंकि यह जर्दी में हवा का प्रवेश कराता है, जिससे एक स्थिर इमल्शन के लिए मंच तैयार होता है।
- धीरे-धीरे तेल डालें: अब, पायसीकरण का जादू! जर्दी मिश्रण में बहुत पतली धारा में, लगातार और जोर से हिलाते हुए, धीरे-धीरे तेल छिड़कें। यहां कुंजी धैर्य और नियंत्रण है। बहुत तेजी से तेल डालने से इमल्शन टूट सकता है, जिससे आपके पास चिकनी मेयो के बजाय एक अलग गंदगी रह जाएगी।
- गाढ़ा होने तक फेंटें: तब तक फेंटना जारी रखें जब तक सारा तेल न मिल जाए और मिश्रण मेयोनेज़ की वांछित स्थिरता तक गाढ़ा न हो जाए। यह मखमली होना चाहिए और अपना आकार बनाए रखना चाहिए।
- स्वाद के लिए मौसम: अब, इसे अपने स्वाद के अनुसार तैयार करें। चमकदार स्वाद के लिए नमक, ताज़ी पिसी हुई काली मिर्च और थोड़ा सा नींबू का रस मिलाएं। याद रखें, मसाला व्यक्तिगत होता है, इसलिए अपनी पसंद के अनुसार समायोजित करें।
- रेफ्रिजरेट करें: एक बार जब आपकी मेयोनेज़ तैयार हो जाए, तो इसे ढक दें और तुरंत फ्रिज में रख दें। घर में बने मेयो में स्टोर से खरीदे गए मेयो के समान संरक्षक नहीं होते हैं, इसलिए ताजगी और खाद्य सुरक्षा के लिए इसे ठंडा रखना आवश्यक है।
- का आनंद लें: अपने घर में बने मेयो को स्प्रेड के रूप में, ड्रेसिंग में या विभिन्न सॉस के आधार के रूप में उपयोग करें। संभावनाएं अनंत हैं!
नोट्स
सभी पोषण संबंधी जानकारी तीसरे पक्ष की गणना पर आधारित है और केवल एक अनुमान है। प्रत्येक नुस्खा और पोषण मूल्य आपके द्वारा उपयोग किए जाने वाले ब्रांडों, मापने के तरीकों और प्रति घर हिस्से के आकार के आधार पर अलग-अलग होंगे।