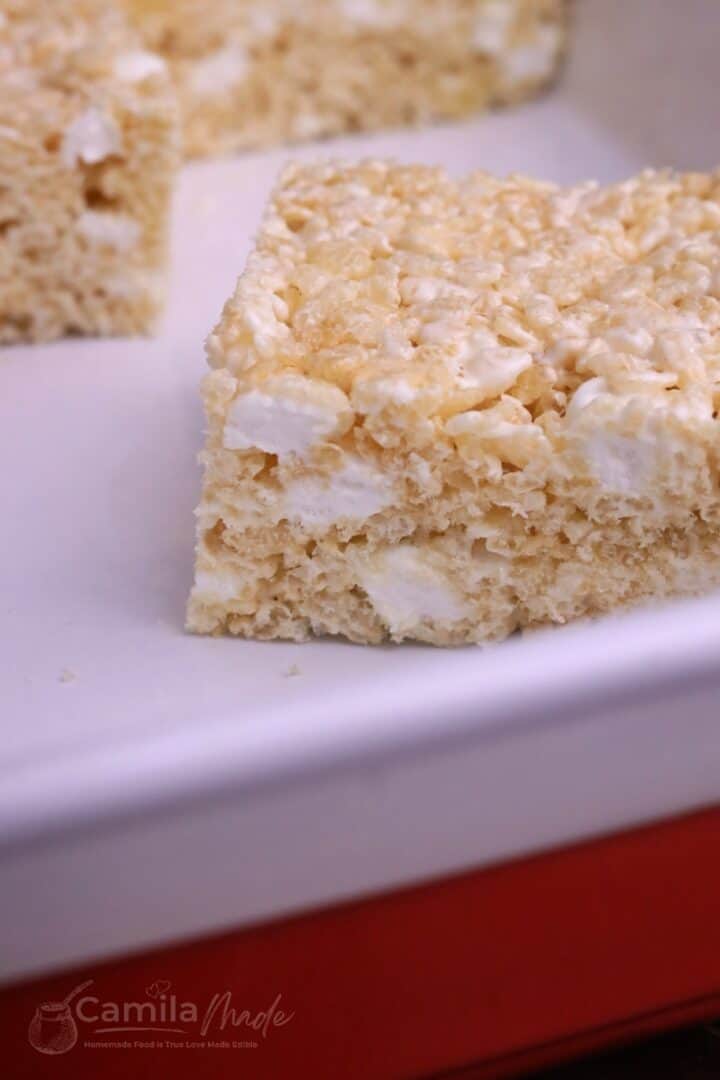
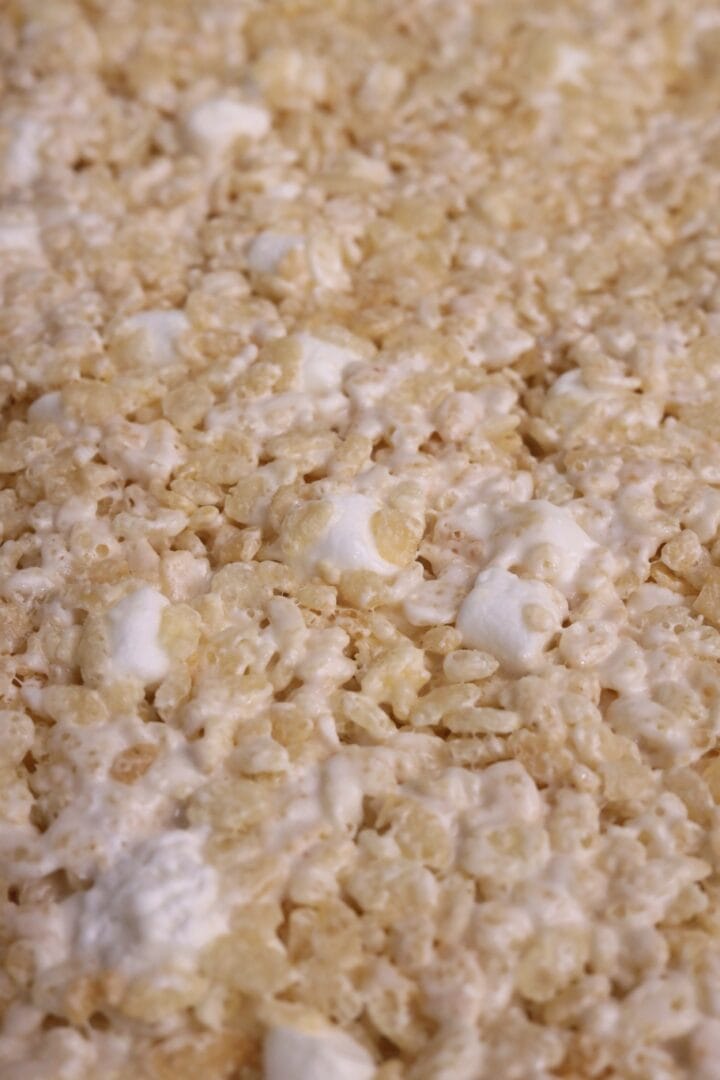
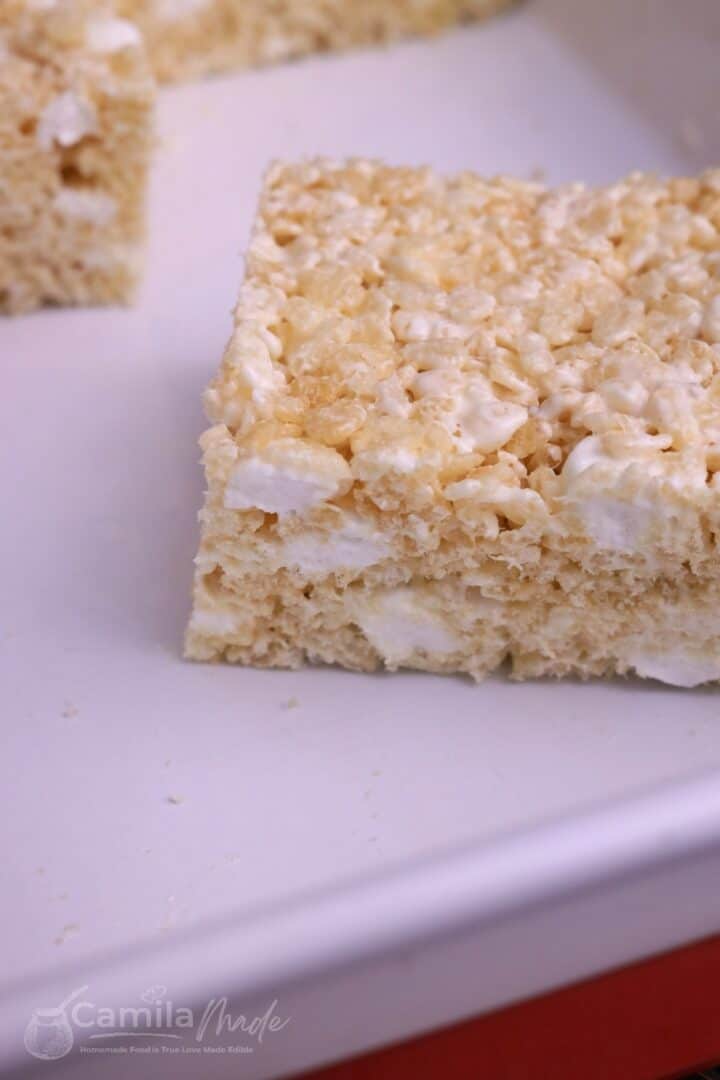
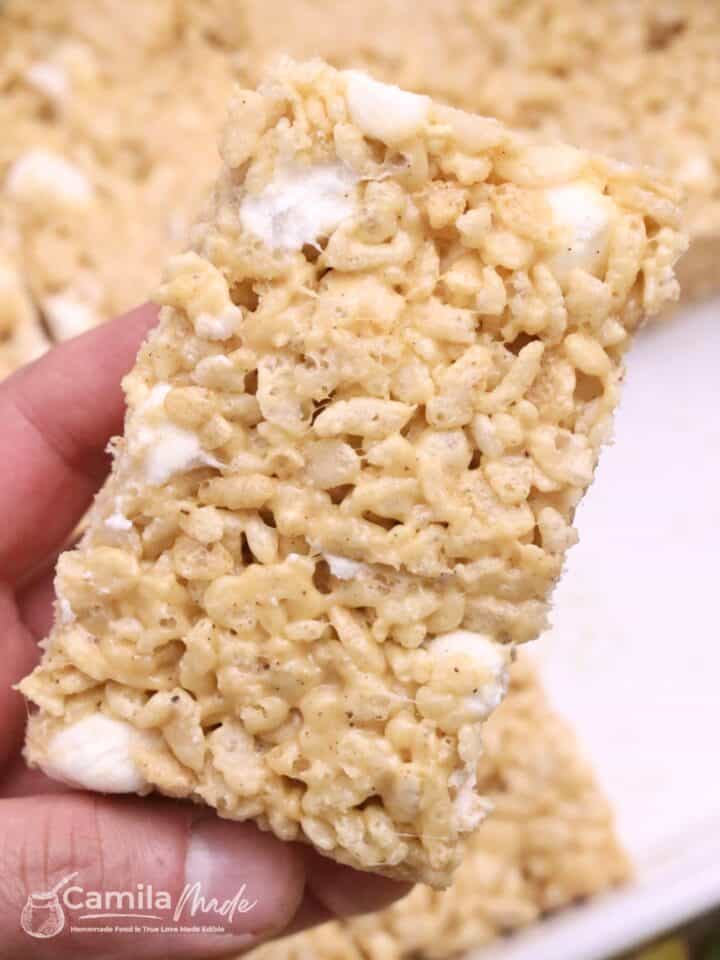
This homemade brown butter Rice Krispie Treat with marshmallows is incredibly delicious. The special ingredient? Browned butter—it adds a rich, nutty flavor that truly sets these treats apart.
Browning the butter deepens its flavor, imparting a caramel-like richness that enhances the taste.
Perfect for any occasion when you need a quick and tasty treat, these Rice Krispie Treats are ideal for holiday gatherings, after-school snacks, or simply as a tasty dessert.
Pair them with a glass of milk or a cup of coffee—they're sure to become a favorite. They’re easy to make and ready in just 30 minutes.
Jump to:
How to Make Brown Butter Rice Krispie Treats
Note: The full instructions are provided in the recipe card below.
- Grease a bowl and pan with butter. Save 2 cups of marshmallows.
- Melt butter in a pot until golden brown. Add marshmallows, vanilla, and salt. Stir until smooth.
- Mix in rice cereal until coated. Add reserved marshmallows.
- Press mixture into pan and let cool until firm, 15 to 20 minutes.
- Cut into squares and serve the same day for the best taste.
Variations
- Chocolate: Use cocoa Rice Krispies instead of the original cereal to make chocolate Rice Krispie Treats.
- Chocolate Chip: Add about 1 cup, or to taste, of mini chocolate chips to the mixture before pressing it into the pan.
- Nutty: Stir in about 1 cup chopped nuts such as almonds, pecans, or peanuts for added crunch and flavor. Toast the nuts beforehand for an extra depth of flavor. You can learn how to toast nuts here.
- Peanut Butter: Incorporate ½ cup of commercially processed peanut butter, such as Jif, into the brown butter mixture before adding the marshmallows for a rich and creamy treat. Commercially processed peanut butter provides a consistent texture that won't separate like freshly ground peanut butter, ensuring a smooth and cohesive mixture.
- S'mores: Add about 2 cups of crushed graham crackers to the mixture, along with some chocolate chips or broken-up Hershey's chocolate bars.
- Cookies and Cream: Crush or coarsely chop about 20 Oreo cookies and fold them into the mixture for a cookie and cream-inspired treat.
- Whiskey: For a spirited twist, add ¼ teaspoon of ground cinnamon and 2 tablespoons of bourbon or other whiskey.
- Festive Fun: Customize your Brown Butter Rice Krispie Treats with Marshmallows for holidays and special occasions by adding themed sprinkles, food coloring, or flavored extracts. For example, use green food coloring and mint extract for St. Patrick's Day treats or red and green sprinkles for Christmas treats.
Camila's Tips
- To elevate the flavor profile of these Krispy treats with a rich and deep undertone, add ¼ cup of whole dried milk, preferably Nido brand. Here's how:👉 As the butter begins to brown, lower the heat and carefully stir in the milk powder using a spatula, ensuring thorough mixing to prevent any burning. Cook until it turns a copper color. After that, continue with the recipe as stated.
- Use fresh marshmallows and crispy rice cereal for the best texture and flavor.
- Use real butter for richness and flavor. Avoid using margarine or butter substitutes for the best taste.
- The little brown specks (browned milk solids) are the secret weapon of brown butter! They add a deep, nutty brown butter flavor to the rice crispy treats. But if you prefer a more subtle flavor, feel free to strain the butter after browning. The clear fat will still hold a hint of that toasted flavor.
- Melt the butter and marshmallows over low heat to prevent scorching and ensure a smooth mixture.
- Stir constantly while melting the marshmallows to prevent them from burning and sticking to the pot.
- When pressing the mixture into the pan, use the butter wrappers or lightly grease your hands or spatula to prevent sticking.
- Press the mixture firmly into the pan to ensure the treats hold together well.
- If using sprinkles, lightly top the treats with them while they're still warm.
- Allow the treats to cool completely in the pan before cutting them into squares. This helps them set properly.
See More Favorite Recipes:
📖 Recipe
Rice Krispie Treats with Marshmallows
Tools
- Baking spray
- Measuring Cups & Spoons
Ingredients
- 2 10-oz bags mini marshmallows, divided 👉 Jet-Puffed mini marshmallows recommended.
- 12 tablespoons (1-½ sticks) unsalted butter, plus more for greasing the pan , cut the butter into equal-sized pieces to melt more evenly. (Save the butter wrappers!)
- 2 teaspoons Vanilla Extract
- ¼ teaspoon kosher salt
- 9 cups (250g) Kellogg’s Rice Krispies
Instructions
- Lightly grease a large bowl and a 9 x 13-inch pan with softened butter. Set aside 1 cup of marshmallows.
- In a large pot or Dutch oven, melt the unsalted butter over medium heat until it starts to foam, about 3 minutes. Reduce heat to low and continue to cook, stirring constantly with a heat-resistant silicone spatula, until the bubbling stops and tiny brown specks (milk solids) begin to turn golden, about 2 to 3 minutes.
- As soon as the butter smells nutty aroma and turns a deep golden brown, turn off the heat.👉⚠️Keep a close eye on it here. You want those tiny brown specks to go from golden to deep golden brown, but not black.
- Turn off the heat and add the remaining marshmallows, vanilla, and salt to the melted butter. Stir to combine. Turn the heat back on low and stir until all the marshmallows are melted and the mixture is smooth. Transfer the mixture to the prepared bowl. (If your pot is large enough, you can mix the rice cereal and mini marshmallows directly in it, as long as there's plenty of room to fold everything together.)
- Add the rice cereal. Fold to combine until the cereal is evenly coated with the marshmallow mixture.
- Add the reserved marshmallows and gently stir until they are partially melted and evenly distributed. Avoid overmixing to maintain pockets of gooey marshmallow.
- Transfer the mixture to the prepared pan and press it into an even layer using a buttered spatula or with the butter paper.
- Let mixture cool until firm, 15 to 20 minutes, then cut into 3 rows of 5 squares to make 15 treats total.
- For the freshest taste and perfect texture, serve these bars on the same day they're made.
Notes
All nutritional information is based on third-party calculations and is only an estimate. Each recipe and nutritional value will vary depending on the brands you use, measuring methods, and portion sizes per household.
