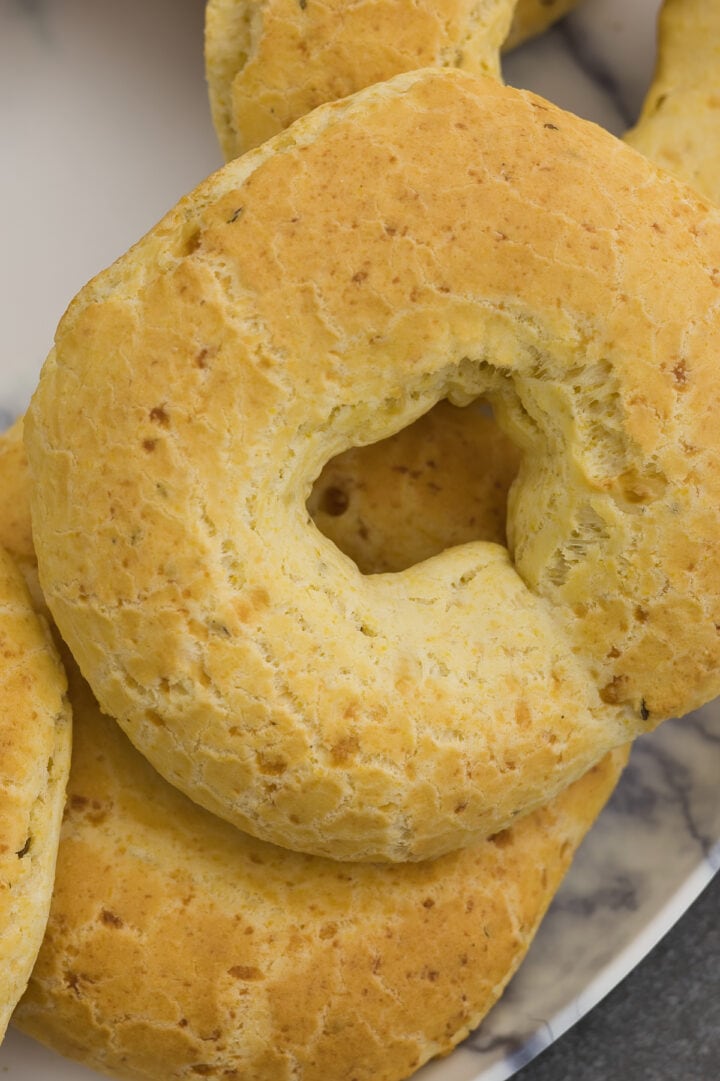
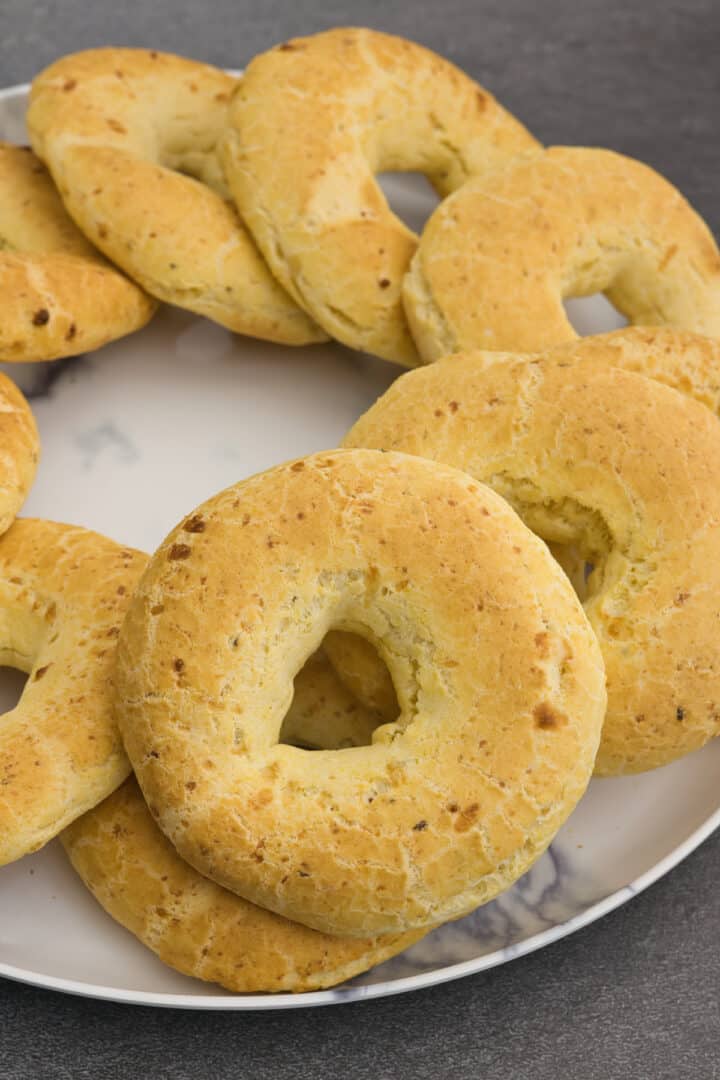
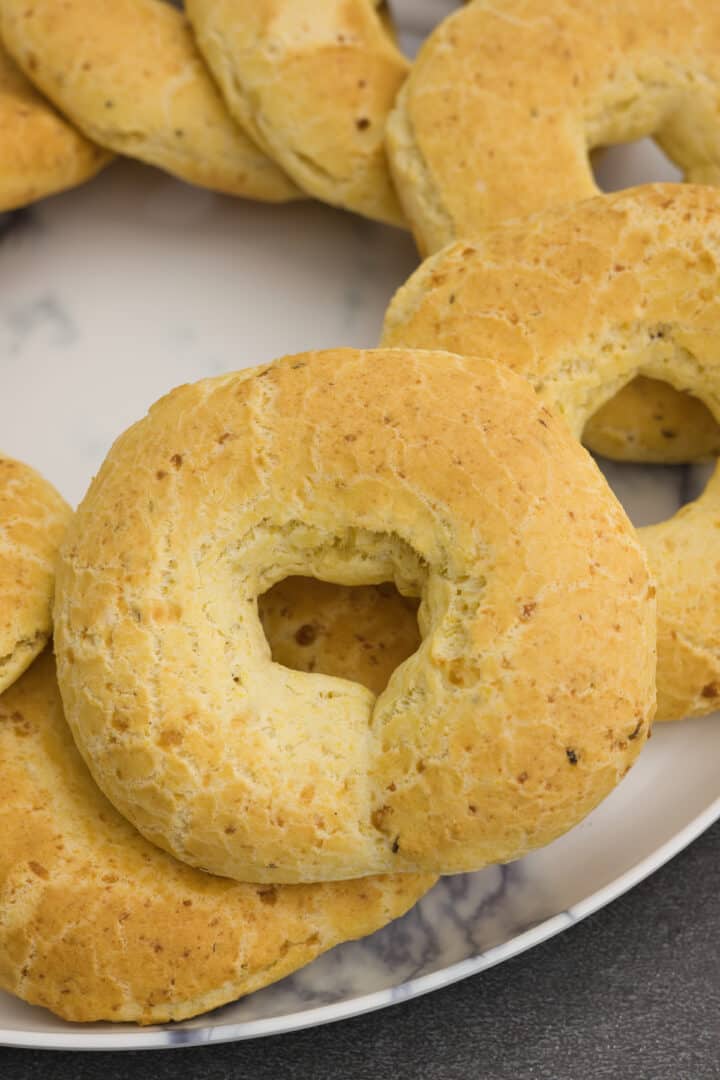
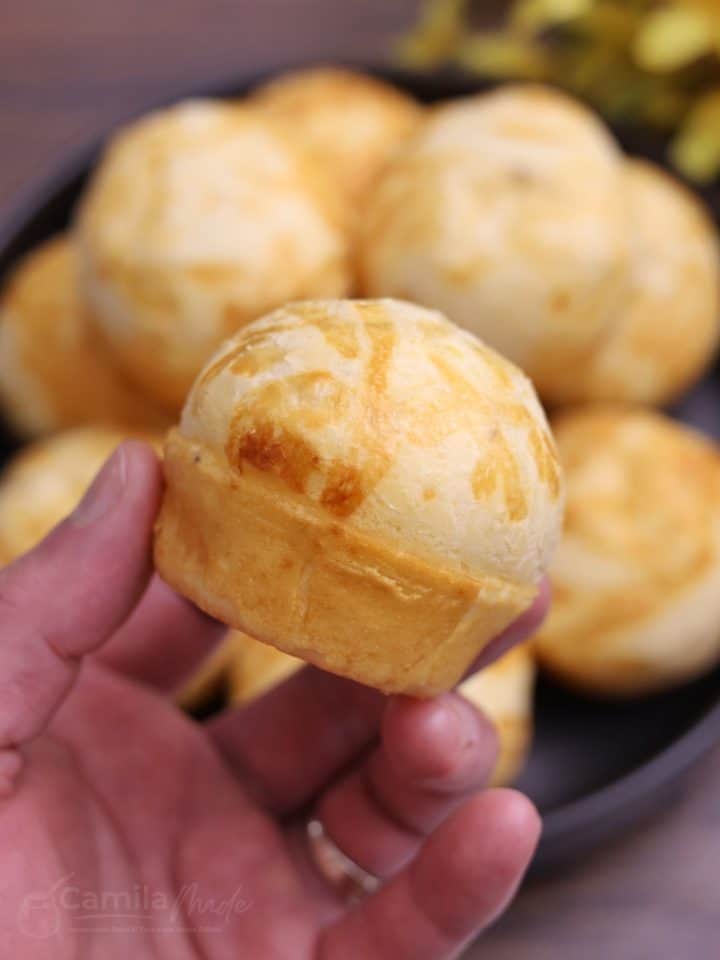
Tapioca starch with cornmeal is a perfect combination of flavors. This traditional Paraguayan chipa recipe is easy to prepare and consistently yields a perfect result: a crunchy crust and a slightly chewy interior with delicious corn flavor.
Additionally, it's gluten-free. Chipa is delicious not only when served warm and fresh from the oven but also at room temperature, and it freezes well, making it convenient for later use. It's a popular choice for breakfast and pairs wonderfully with Mate Cocido or Coffee.
Jump to:
🧀Best Substitute for Queso Paraguay
If you can't find Queso Paraguay, don't worry—any mild-soft or semi-hard cheese can be a good substitute. Here are some cheeses I've tried that work really well:
- Mexican Blend
- Mild Cheddar
- Monterey Jack Cheese
- Mozzarella Cheese
- Frying Cheese (Queso de Freir)
- Queso Panela
- Queso Blanco
How to Make Homemade Chipa
Note: The full instructions are provided in the recipe card below.
- Preheat oven to 350°F (175°C) and line baking sheets.
- Combine dry ingredients.
- Make a well in the center of the dry ingredients.
- Cream butter and eggs until creamy in the center of the well.
- Combine wet and dry ingredients until a coarse crumb forms.
- Add cheese.
- Gradually mix in buttermilk.
- Knead until smooth and homogeneous.
- Let dough rest.
- Shape the dough.
- Place on baking sheets and bake until golden and puffed.
- Chipa is best served fresh out of the oven.
Variations
- Chipa Aramirõ: This is the classic manioc flour-based chipa, often simply referred to as " chipa almidon or chipa." Its ingredients typically include cassava starch, semi-hard or Paraguayan cheese, pork fat, margarine or lard, and anise seeds.
- Chipa Mestizo: This variant is widely known in Paraguay. It gets its name from the mix of corn flour (cornmeal) and cassava starch used in its preparation.
- Chipa Four Cheeses: This version is filled with a variety of cheeses, including Mozzarella, Catupiry, Paraguayan Cheese, and sandwich cheese.
- Chipa Chutita: A variation of the Chipa Mestiza, it includes cornstarch and baking powder, filled with traditional "chorizo misionero," cheeses, onion, red peppers, and other seasonings.
- Chipa Asador, Caburé, or Mbocá: This elongated, hollow variant is cooked over embers around a stick, resulting in a unique texture.
- Chipa Pirú (Chipita): Chipa pirú is a small, crispy donut shape, around two centimeters in diameter, commonly enjoyed during breakfasts and snacks. Its name, 'pirú,' refers to its dry and thin texture, setting it apart within the chipa family.
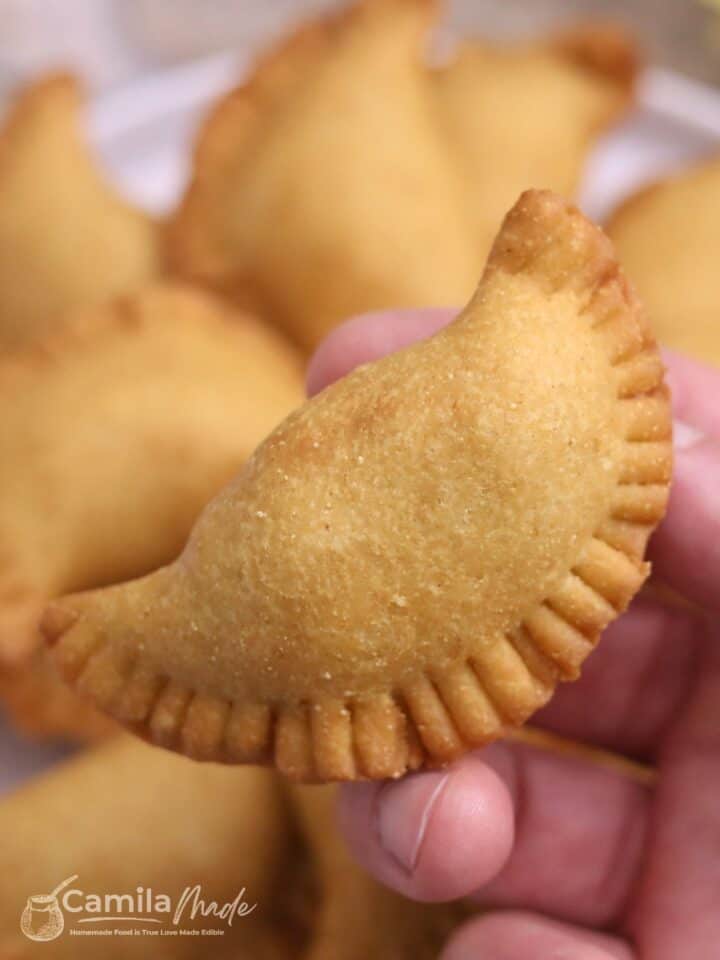
- Chipa So'o: This variant includes a filling of seasoned meat, typically beef, and is shaped like a large cookie with the meat and chopped egg filling.
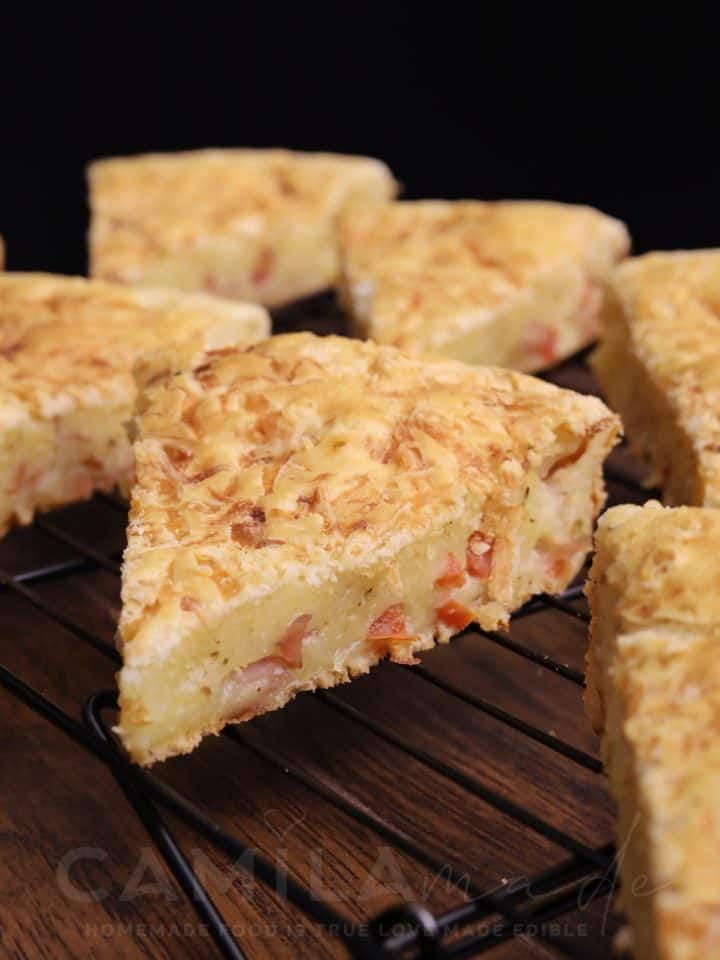
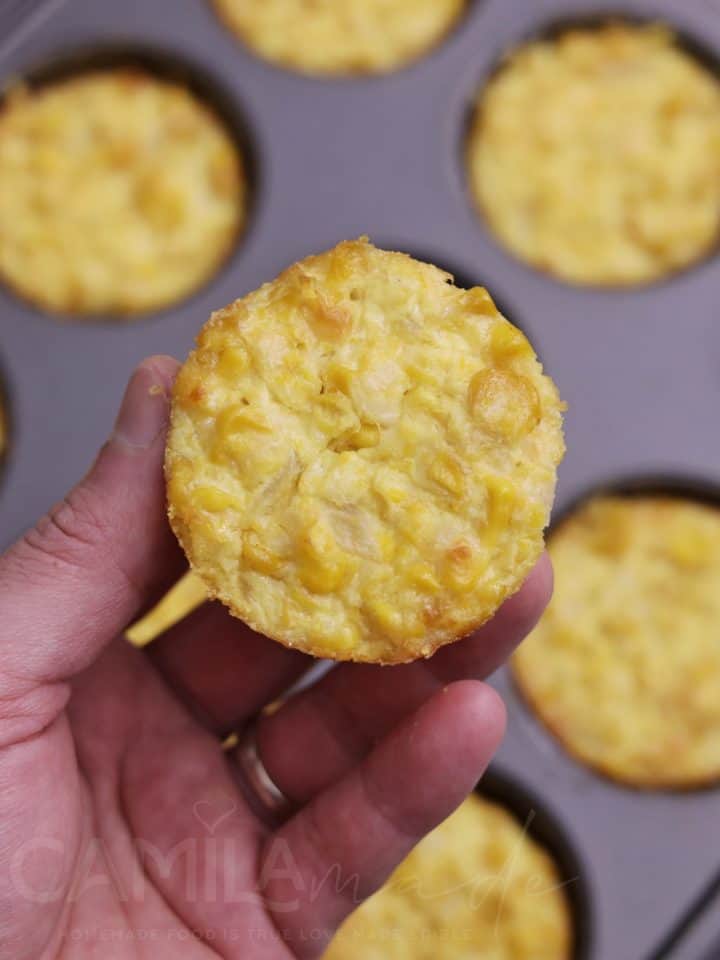
- Chipa Guasu (Chipa Guazú ): A substantial corn cake, "guasu" meaning 'big' in Guarani, made from fresh corn and eggs.
- Chipa Jasmine: This lighter variant combines cassava starch with wheat flour and includes cheeses, pork fat, and eggs.
- Chipa Manduví: "Manduví" means "peanut" in Guarani, and this chipa is made with a mix of cornmeal and ground peanuts.
- Chipa Rorá: Prepared using the husk of corn seeds after straining.
- Chipa Paquita: A variation of chipa made using wheat flour instead of tapioca starch. It's a type of bread filled with cheese.
Camila's Tips
- If you want to prepare a larger quantity, just double the recipe and follow the preparation instructions.
- The right consistency is crucial for making good chipa. The dough should be compact and moist but not overly wet.
- To ensure the chipá is soft and well-aerated, it's important to knead the dough thoroughly and then shape it.
- You can make chipa in any shape and size you want.
- The amount of units you get depends on the size you make your chipa.
- Place each Paraguayan cheese bread on the prepared baking sheet and cover them with a clean kitchen cloth to prevent them from drying out while you finish shaping all the pieces of dough.
- It's crucial to preheat the oven and ensure it's very hot. Chipas should not stay in the oven too long to prevent dehydration. Since ovens vary, keep an eye on the chipas and remove them when they turn lightly golden, puffed up, and have cheese spots on the surface.
- To keep the chipas soft, when you take them out of the oven, transfer them to a wire rack to cool completely. Store them in an airtight container or zip-lock bag to maintain their freshness. Avoid overcooking; 15 to 17 minutes of baking time is sufficient for them to be well-cooked.
See More Paraguayan Recipes:
📖 Recipe
Easy Chipa
Tools
- (2) 13" x 18" Baking Sheet
- Extra large mixing bowl
- Measuring Cups & Spoons
Ingredients
- 500 g Yuca Starch also known as Tapioca Starch
- 150 g Quaker yellow cornmeal
- 1 tablespoon Non-Aluminum baking powder Traditional chipa doesn’t contain baking powder, but I like to add it to make it lighter and fluffier.
- 400 g Shredded Mexican cheese or any semi-soft or semi-firm cheese.
- 150 g Softened butter I use butter in this recipe because I prefer its flavor, but alternatives like shortening or margarine can also be used.
- 100 ml Buttermilk or whole milk, room temperature ( Use only as much as needed to achieve a moist dough, taking care not to over-moisten it). See my instructions for how to make homemade buttermilk 👉 here.
- 4 large Eggs , room temperature
- 1-½ teaspoons Kosher salt , or to taste
- 1 tablespoon Anise Seeds Optional, but highly recommended.
Instructions
- Preheat your oven to 500°F (260°C) and line two 13x18x1 baking sheets with parchment paper.
- In a large mixing bowl, combine tapioca starch, cornmeal, salt, anise, and baking powder.
- On a clean work surface, pour out the yuca starch mixture and form a well in the center. Add softened butter and eggs, mixing them into the starch with your fingers until creamy.
- Gradually incorporate the dry ingredients into the wet mixture by hand until a coarse crumb forms. (The coarse crumb should appear loose but hold together when pressed.)
- Mix in cheese until well integrated.
- Slowly add buttermilk, just enough to make the dough easy to knead but not too firm. Knead by hand until the dough is compact and moist. Note: you may not need to use all the buttermilk; if it becomes too soft, add a little more yuca starch.
- Knead the dough using the heel of your hand to push it away from you, then gather it back using a bench scraper. Continue until the dough is smooth, compact, and no longer sticks to the surface or your hands, about 4-5 minutes. Note: The dough should have a smooth playdough-like consistency when done.
- Cover the dough with a clean kitchen towel and let it rest for 15-20 minutes.
- To shape the chipas, pinch off a piece of dough and roll it into a ball, about 130g each. Roll into an 8-inch log, join the ends to form a circle, and press to seal. For diagonal shapes, roll into a 9-inch long, 2-inch diameter log and cut into 3-inch diagonal slices.
- Place shaped dough on the prepared baking sheets and bake until lightly golden and puffed, about 12-15 minutes. Do not overcook. Serve immediately.
Notes
All nutritional information is based on third-party calculations and is only an estimate. Each recipe and nutritional value will vary depending on the brands you use, measuring methods, and portion sizes per household.
