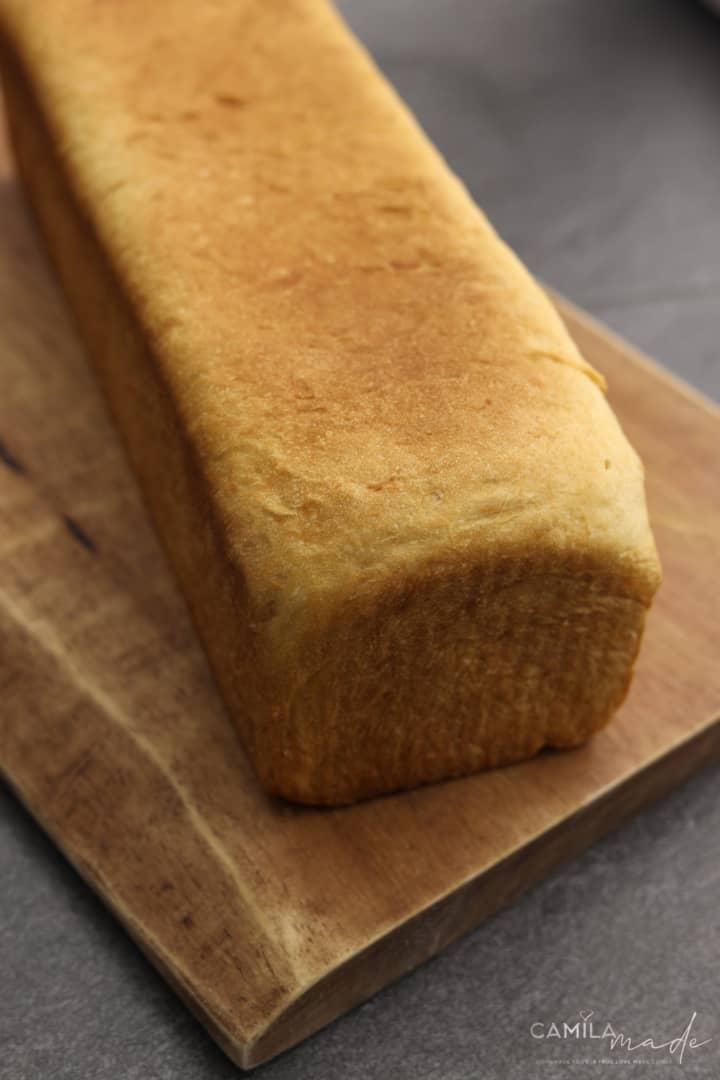
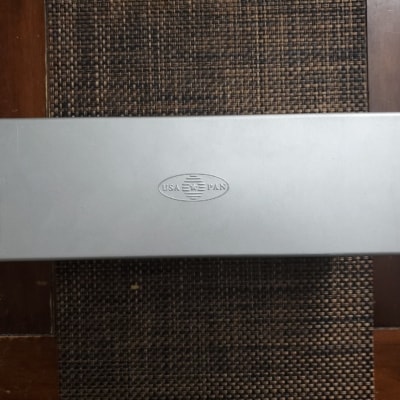
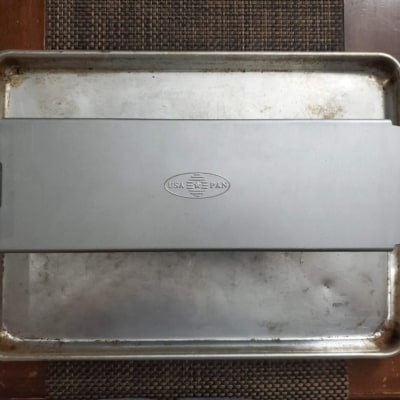
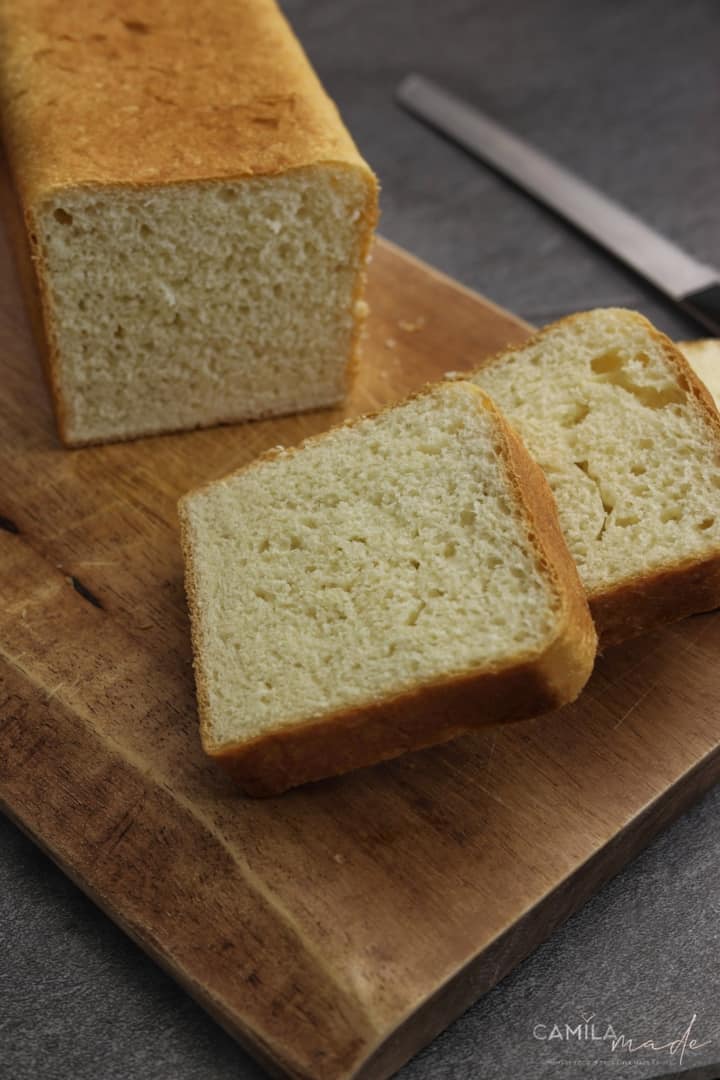
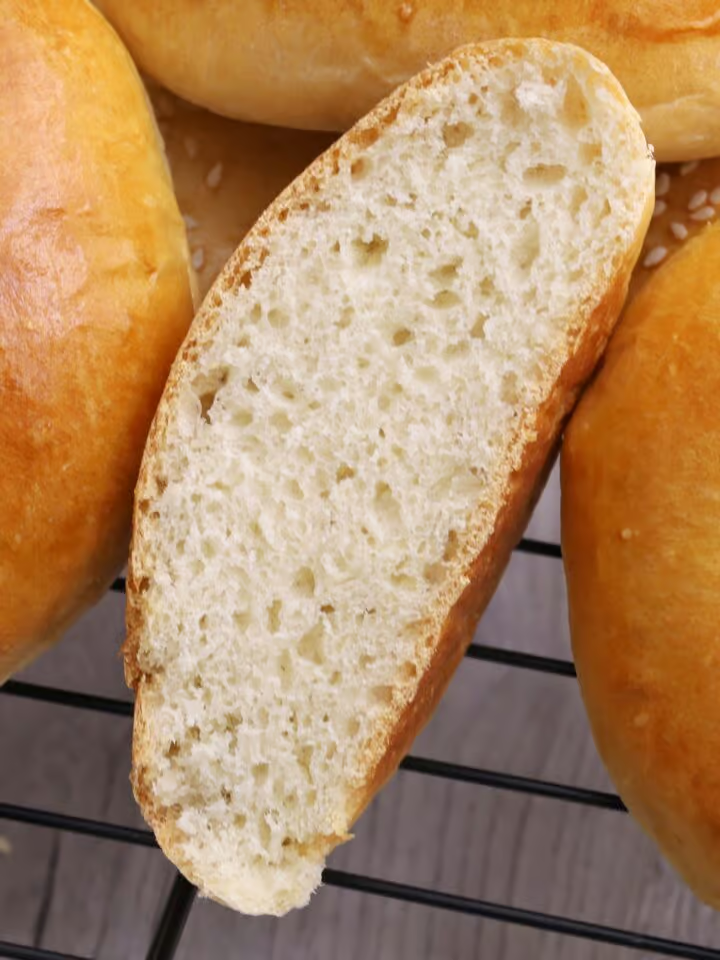
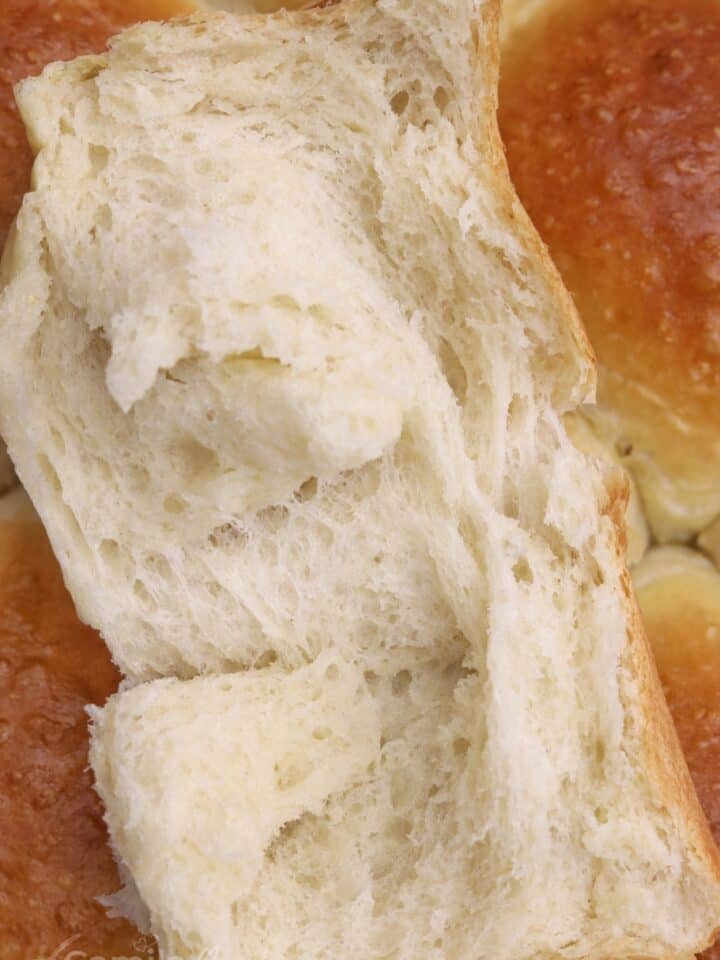
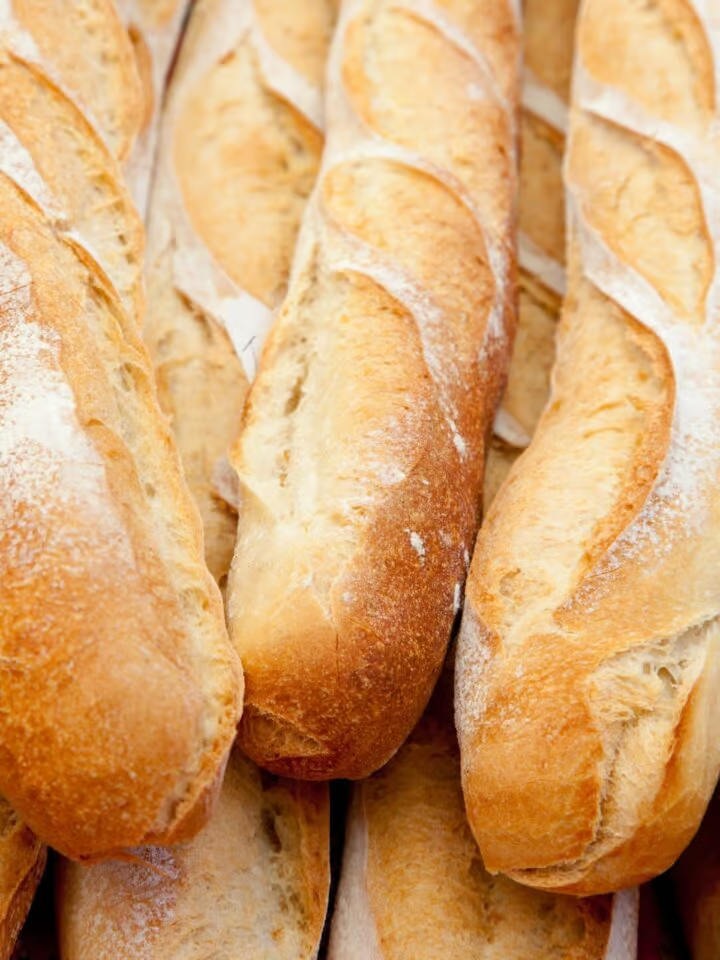
Pain de Mie is a classic French bread perfect for sandwiches or toast. This Pain de Mie recipe is made with flour, milk, water, salt, butter, and yeast and is baked in a Pullman loaf pan, giving the bread its distinctive square shape.
How to Make Pain de Mie
Note: The full instructions are provided in the recipe card below.
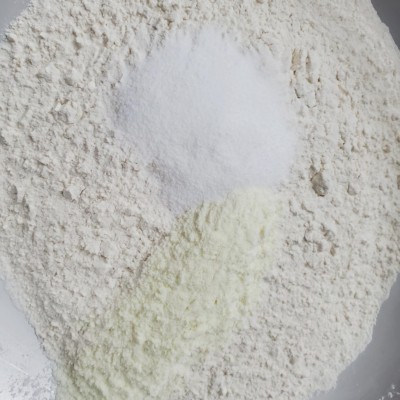
In the bowl of a stand mixer fitted with the dough hook attachment, combine bread flour, dry milk, and sugar. In a small saucepan, heat the milk until lukewarm (100°F to 110°F).
The saucepan shouldn’t be so hot that you can’t touch the bottom of the pan. If the milk is too hot, it can kill the yeast, but it won’t incorporate the other ingredients if it's too cool.
Next, in a small bowl, use a fork to whisk the yeast with 1 tablespoon of lukewarm (not hot) water to activate the yeast. Let the mixture sit until it’s bubbly, about 2 minutes. If it’s foamy, the yeast has activated. If not, start again with a new batch of yeast and lukewarm water.
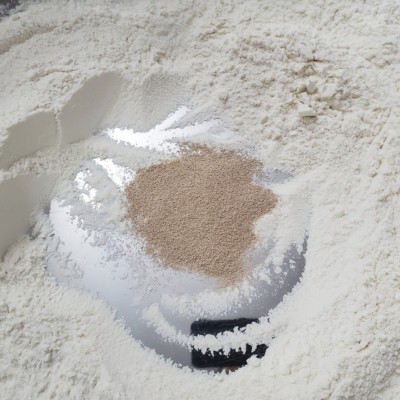
Next, add the yeast mixture and salt to the flour mixture.
Avoid placing the yeast mixture and salt in direct contact, as this can deactivate the yeast; you can sprinkle some of the flour mixtures on top of the yeast mixture for insurance.
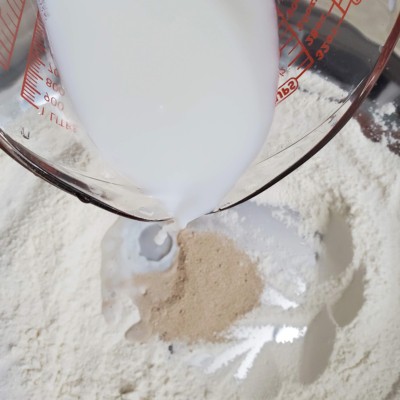
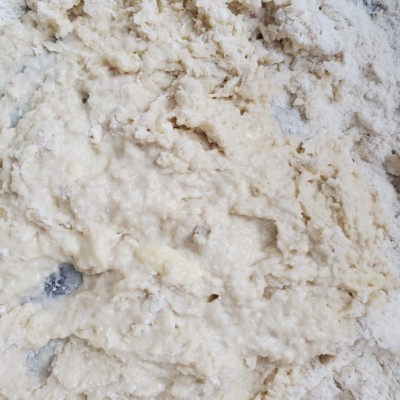
Mix on low speed until the ingredients are incorporated. Add remaining lukewarm (not hot) water and all of the lukewarm (not hot) milk. Mix on low speed, then increase to medium, until ingredients are incorporated and the dough begins to pull away from the side of the bowl, about 1 minute. Scrape down the sides once or twice if needed to incorporate the ingredients.
It’s okay if a bit of flour remains at the bottom of the bowl—you’ll include it later. Next, incorporate the butter one tablespoon at a time. With the mixer on low speed, add the first tablespoon of butter, divided into smaller chunks.
Increase the mixer’s speed to medium and continue to mix until the butter has just disappeared, about 1 minute or so. Repeat this process until all butter is fully incorporated and the dough looks smooth.
Be careful not to overwork the dough by mixing it too fast or too long or letting the butter soften to the melting point. Scrape down the sides of the bowl.
The dough may start to detach from the sides of the bowl on its own, or it may stick slightly, but it should feel like a single mass. Add a small piece of butter to a paper towel and use it to butter a large glass bowl.
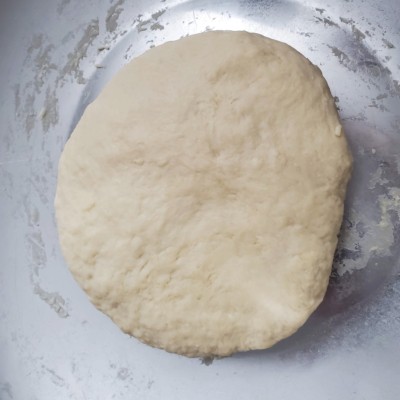
Using slightly greasy hands that are not overly moist or dry, round your palm into a scoop shape. Gently scoop the dough out of the stand mixer bowl and cradle the dough into the greased glass bowl. The dough should come away easily from the bowl at this point.
Cover the glass bowl with a clean kitchen towel and let the dough rise in a draft-free place at room temperature (68°F to 77°F/20°C to 25°C) until it has doubled in size, about 45 to 1 hour.
While the dough is rising, prepare the loaf pan. Use a pastry brush to lightly coat the inside of a 13" x 4" x 4" Pullman Loaf Pan with oil. Start checking on the dough after 45 minutes, especially if your kitchen is very warm, which can speed up the rising process.
If the dough has already doubled in size, move on to shaping. First, lightly flour a work surface. Uncover the dough and your hands or a dough scraper to gently slide the dough away from the sides of the bowl and onto the work surface; gently flip the dough over. Lightly flour your hands by rubbing them on the floured work surface.
Then, working horizontally across the dough, gently push down with the heel of one hand to flatten the dough into an oblong shape about an inch longer than the length of the loaf pan, with the long edges facing you. Next, use your free hand to gently cradle the dough, keeping it in position as your other hand flattens with the heel.
At this point, the short ends will be rounded. To achieve a more rectangular shape, fold the short edges of the dough inward toward the dough’s center, just enough so that the long edge of the rectangle is the same length as the pan. Lightly press down on the seams.
When you bake the bread, the dough will expand upward, not sideways, so this is your chance to get the right fit. Gently roll the dough into a thick log. Start with your palms flat on the work surface, your index fingers almost touching, and your thumbs reaching back toward you.
The edge of the dough farthest from you should almost touch your index fingers. Gently use your index fingers to start rolling the far edge of the dough toward yourself, eventually using your entire palm and thumbs to roll the dough in on itself.
As you roll, gently use your thumbs to tuck in the edges inward to avoid stretching out the dough. Repeat this gentle rolling motion up to 6 times to create a uniformly thick log.
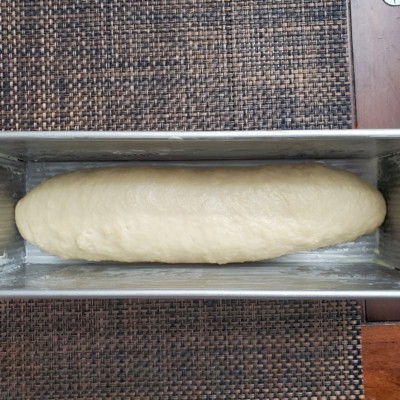
The middle of the log should be about the same height as the ends, and the log should be the same length as the loaf pan. Very delicately cradle the dough log into the prepared pan, seam-side down. Lightly oil a piece of parchment paper large enough to cover the top of the loaf pan, plus an inch or two of overhang.
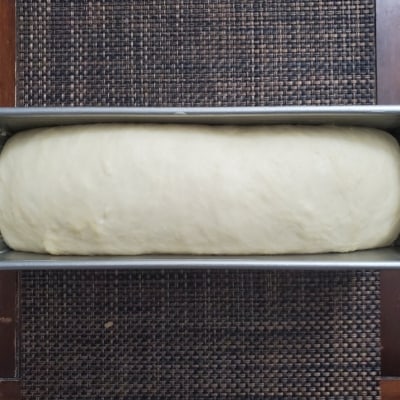
Let the dough rise a second time at room temperature (68°F to 77°F/20°C to 25°C) in a draft-free place, covered with the oiled parchment paper (oiled side down) and a weight. Using a Pullman pan, let the dough rise with the lightly oiled Pullman lid on top.
If you’re baking a loaf with a rounded top, you can use an oiled piece of plastic wrap as a covering instead of the lid or weight. After 30 minutes, start checking the dough. If it rises rapidly and measures ½ inch (about 1 finger wide) below the edge of the pan, move an oven rack to the lower third position and preheat the oven to 390°F/200°C.
For a flat top, leave the dough covered with the Pullman lid. Place the loaf pan on a baking sheet to prevent the bottom crust from browning too much. Place the baking sheet with the loaf pan on the center rack in the hot oven. Start baking as soon as the oven has heated.
(Note that preheating the oven will make the kitchen hotter, which may cause the dough to rise more quickly.) Next, place the loaf pan horizontally in the center of the oven rack.
If the dough rises slowly, continue to let it rest up to 1 hour longer, preheating the oven when it seems to have almost risen. If the dough over-proofs (meaning it rises more than ½ inch below the edge of the pan), try baking without the lid to prevent the loaf from collapsing.
Bake until the pain de mie has fully risen and a crust has formed about 45 to 50 minutes. Or until it reaches an internal temperature of 185 to 190 degrees F in an instant-read thermometer.
Carefully remove the lid (if using) and continue baking until the crust achieves an even golden brown or light honey color, about 10 to 15 minutes longer. If the bread collapses during baking or looks underbaked after removing the lid (if using), continue baking for up to 1 hour. Unmold the loaf while it’s still warm.
Next, flip the pan upside down onto a clean dish towel—cool upside down on a wire rack for at least 1 hour before you cut it; this will prevent the steam from escaping and making the Pain de Mie dry.
Wrap the Pain de Mie in a cloth and place it in a paper bag. Store it at room temperature for up to 5 days. If freezing, wait until the bread has cooled down entirely. Store it in a freezer bag for up to 3 months—Thaw the loaf at room temperature before serving.
Related Recipes:
Recipe
Easy Pain de Mie
Tools
Ingredients
- 500 g (4 cups) of all-purpose flour
- 11 g (1 tablespoon)instant dry yeast
- 40 g granulated white sugar
- 125 ml (½ cup ) whole milk
- 250 ml (1 cup) water
- 50 g unsalted butter softened
- 3 g dry whole milk Nido
- 10 g kosher salt
Instructions
- In the bowl of a stand mixer fitted with the dough hook attachment, combine bread flour, dry milk, and sugar. In a small saucepan, heat the milk until lukewarm (100°F to 110°F). The saucepan shouldn’t be so hot that you can’t touch the bottom of the pan. If the milk is too hot, it can kill the yeast, but if it’s too cool, it won’t incorporate with the other ingredients.
- Next, in a small bowl, use a fork to whisk the yeast with 1 tablespoon of lukewarm (not hot) water to activate the yeast. Let the mixture sit until it’s bubbly, about 2 minutes. If it’s foamy, the yeast has activated. If not, start again with a new batch of yeast and lukewarm water.
- Next, add the yeast mixture, and salt to the flour mixture. Avoid placing the yeast mixture and salt in direct contact, which can deactivate the yeast; you can sprinkle some of the flour mixtures on top of the yeast mixture for insurance.
- Mix on low speed until ingredients are incorporated. Add remaining lukewarm (not hot) water and all of the lukewarm (not hot) milk. Mix on low speed, then increase to medium, until ingredients are incorporated, and the dough begins to pull away from the side of the bowl, about 1 minute.
- Scrape down the sides once or twice if needed to incorporate the ingredients. It’s okay if a bit of flour remains at the bottom of the bowl—you’ll include it later. Next, incorporate the butter one tablespoon at a time. With the mixer on low speed, add the first tablespoon of butter, divided into smaller chunks. Increase the mixer’s speed to medium and continue to mix until the butter has just disappeared, about 1 minute or so.
- Repeat this process until all butter is fully incorporated and the dough looks smooth. Be careful not to overwork the dough by mixing it too fast or too long or letting the butter soften to the melting point. Scrape down the sides of the bowl. The dough may start to detach from the sides of the bowl on its own, or it may stick slightly, but it should feel like a single mass.
- Add a small piece of butter to a piece of paper towel and use it to butter a large glass bowl. Using slightly greasy hands that are not overly moist or dry, round your palm into a scoop shape. Gently scoop the dough out of the stand mixer bowl and cradle the dough into the greased glass bowl. The dough should come away easily from the bowl at this point.
- Cover the glass bowl with a clean kitchen towel and let the dough rise in a draft-free place at room temperature (68°F to 77°F/20°C to 25°C) until it has doubled in size, about 45 to 1 hour. While the dough is rising, prepare the loaf pan. Use a pastry brush to lightly coat the inside of a 13" x 4" x 4" Pullman Loaf Pan with oil. Start checking on the dough after 45 minutes, especially if your kitchen is very warm, which can speed up the rising process. If the dough has already doubled in size, move on to shaping.
- First, lightly flour a work surface. Uncover the dough and your hands or a dough scraper to gently slide the dough away from the sides of the bowl and onto the work surface; gently flip the dough over. Lightly flour your hands by rubbing your hands on the floured work surface.
- Then, working horizontally across the dough, gently push down with the heel of one hand to flatten the dough into an oblong shape about an inch longer than the length of the loaf pan, with the long edges facing you. Next, use your free hand to gently cradle the dough, keeping it in position as your other hand flattens with the heel. At this point, the short ends will be rounded.
- To achieve a more rectangular shape, fold the short edges of the dough inward toward the dough’s center, just enough so that the long edge of the rectangle is the same length as the pan. Lightly press down on the seams.
- When you bake the bread, the dough will expand upward, not sideways, so this is your chance to get the right fit. Gently roll the dough into a thick log. Start with your palms flat on the work surface, with your index fingers almost touching and your thumbs reaching back toward you. The edge of the dough that’s farthest from you should be almost touching your index fingers.
- Gently use your index fingers to start rolling the far edge of the dough toward yourself, eventually using your entire palm and thumbs to roll the dough in on itself. As you roll, gently use your thumbs to tuck in the edges inward to avoid stretching out the dough. Repeat this gentle rolling motion up to 6 times to create a uniformly thick log.
- The middle of the log should be about the same height as the ends, and the log should be the same length as the loaf pan. Very delicately cradle the dough log into the prepared pan, seam-side down.
- Lightly oil a piece of parchment paper large enough to cover the top of the loaf pan, plus an inch or two of overhang.
- Let the dough rise a second time at room temperature (68°F to 77°F/20°C to 25°C) in a draft-free place, covered with the oiled parchment paper (oiled side down) and a weight. If using a Pullman pan, you can let the dough rise with the lightly oiled Pullman lid on top.
- If you’re baking a loaf with a rounded top, you can use an oiled piece of plastic wrap as a covering instead of the lid or weight. After 30 minutes, start checking the dough. If it rises rapidly and measures ½ inch (about 1 finger wide) below the edge of the pan, move an oven rack to the lower third position and preheat the oven to 390°F/200°C.
- For a flat top, leave the dough covered with the Pullman lid. Place the loaf pan on a baking sheet to prevent the bottom crust from browning too much. Place the baking sheet with the loaf pan on the center rack in the hot oven. Start baking as soon as the oven has heated. (Note that preheating the oven will make the kitchen hotter, which may cause the dough to rise more quickly.) Next, place the loaf pan horizontally in the center of the oven rack.
- If the dough rises slowly, continue to let it rest, up to 1 hour longer, preheating the oven when the dough seems almost risen. If the dough over-proofs (meaning it rises more than ½ inch below the edge of the pan), try baking without the lid to prevent the loaf from collapsing.
- Bake until the bread has fully risen and a crust has formed, about 45 to 50 minutes. Or until it reaches an internal temperature of 185 to 190 degrees F in an instant-read thermometer. Carefully remove the lid (if using) and continue baking until the crust achieves an even golden brown or light honey color, about 10 to 15 minutes longer. If the bread collapses during baking or looks underbaked after removing the lid (if using), continue baking for up to 1 hour total.
- Unmold the loaf while it’s still warm. Next, flip the pan upside down onto a clean dish towel—cool upside down on a wire rack for at least 1 hour before you cut it; this will prevent the steam from escaping and making the bread dry.
- Wrap the bread in a cloth and place it in a paper bag. Store at room temperature for up to 5 days. If freezing, wait until the bread has cooled down entirely. Store it in a freezer bag for up to 3 months—Thaw the loaf at room temperature before serving.
Notes
All nutritional information is based on third-party calculations and is only an estimate. Each recipe and nutritional value will vary depending on the brands you use, measuring methods, and portion sizes per household.

