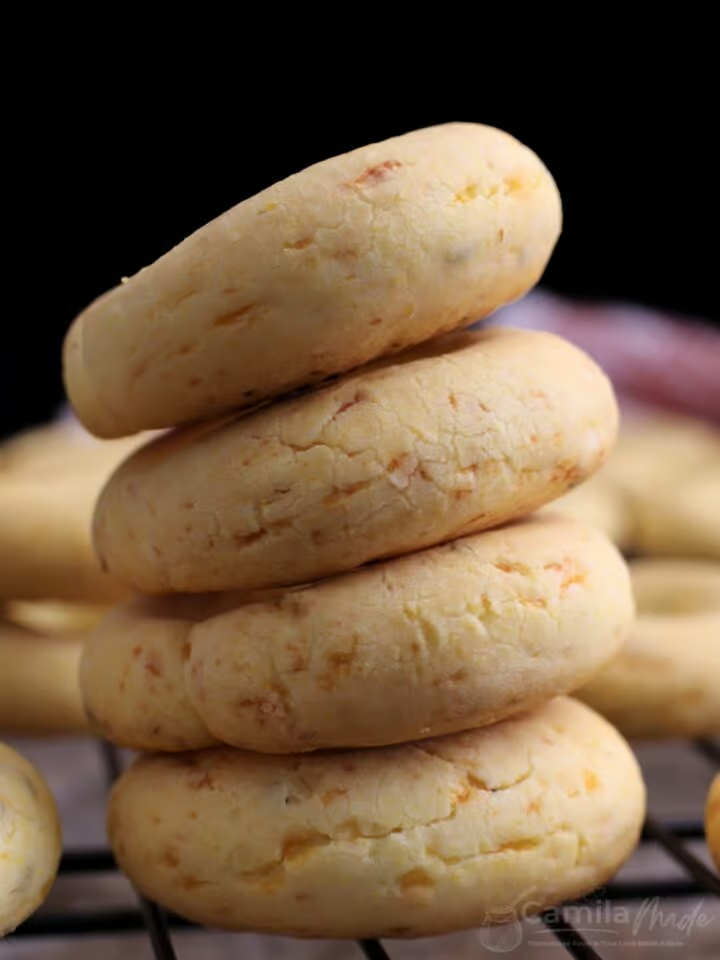
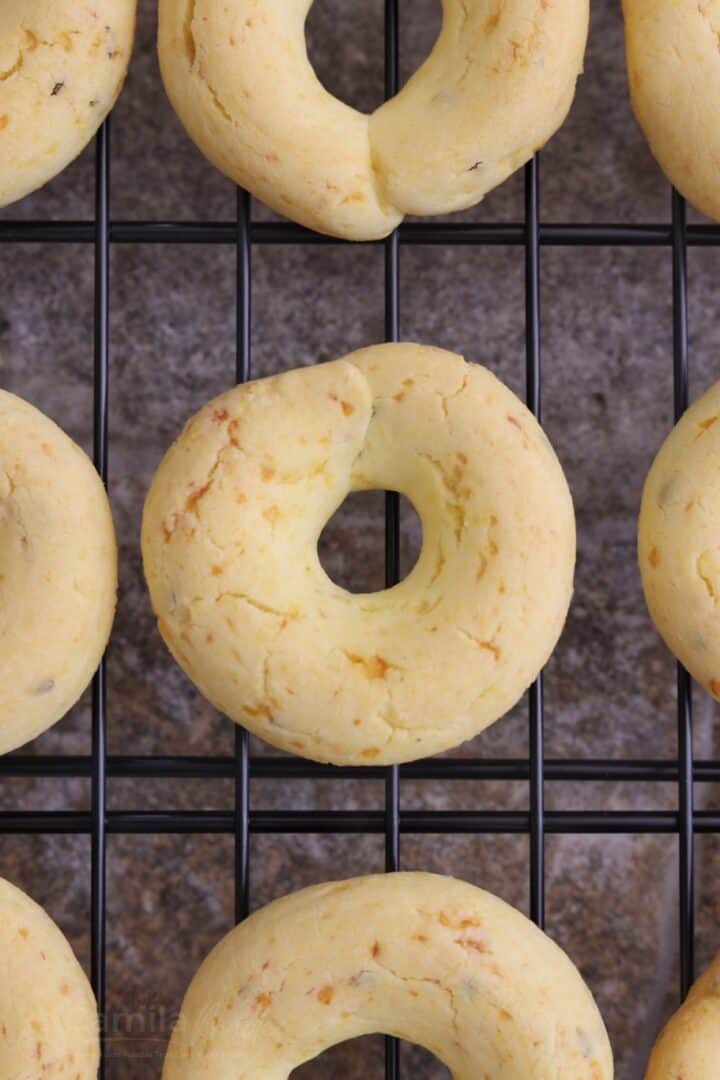
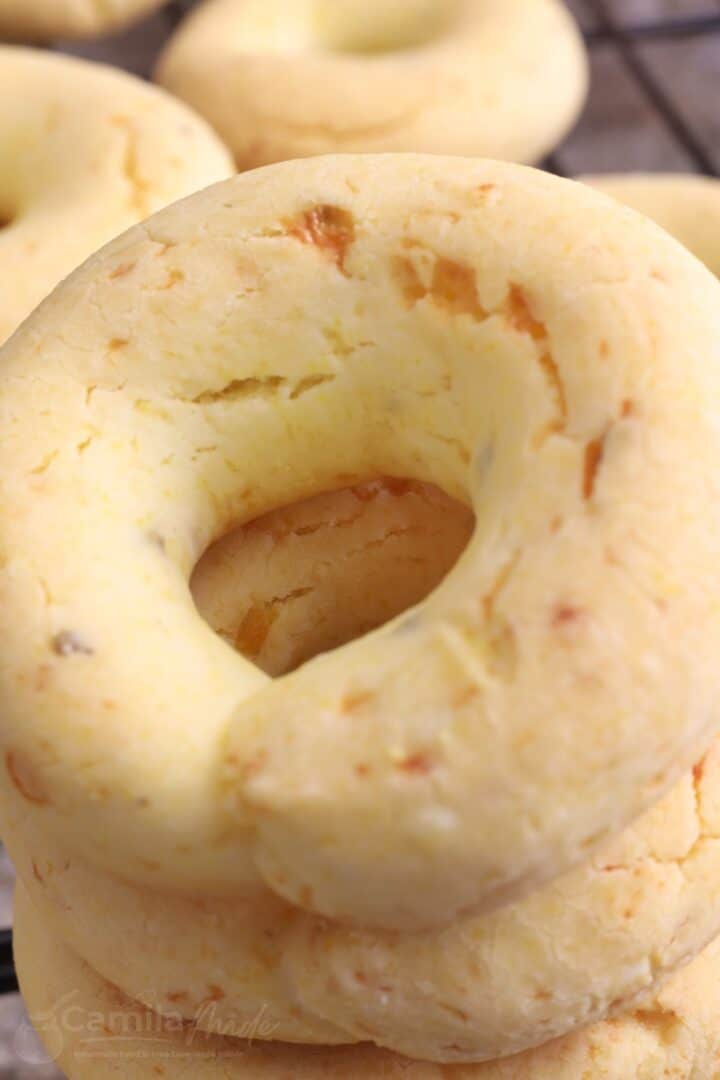
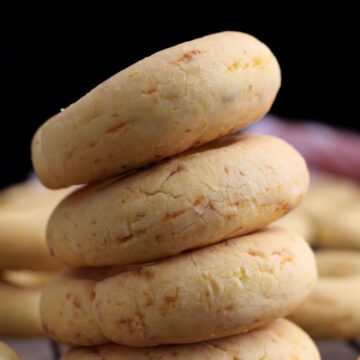
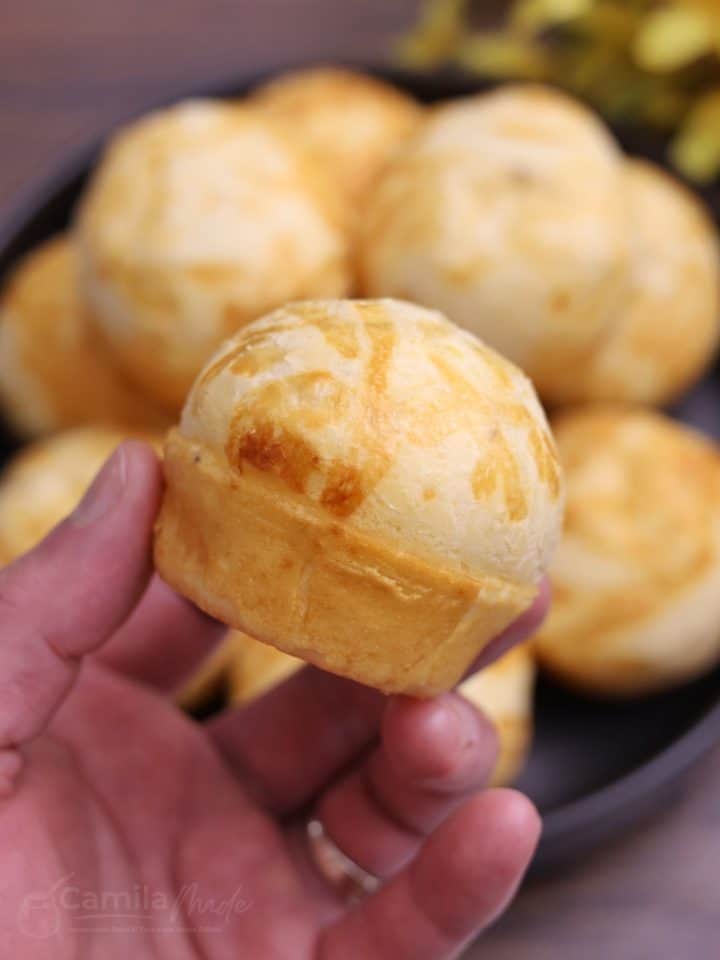
Chipita, also known as Chipa Pirú, is one of the many variations of Paraguayan chipas. It is known for its crisp and crunchy texture and tiny size.
Inspired by my Chipa Mestizo, this recipe features all the beloved qualities of a classic chipita while adding a delicate corn flavor for an even more delicious flavor.
It is super easy to make, requiring only a few basic ingredients. Plus, it's naturally gluten-free, making it a perfect snack for everyone! Though shaping them might take a bit of time, the end result is incredibly rewarding.
It is best served once it has cooled down, as it improves its texture. Its versatility makes it an excellent choice for breakfast as a mid-day snack or alongside a cup of mate cocido. You can even serve them as an appetizer. Give it a try—you won't be disappointed!
How to Make Chipa Pirú
Note: The full instructions are provided in the recipe card below.
- Preheat oven to 350°F (175°C) and line baking sheets.
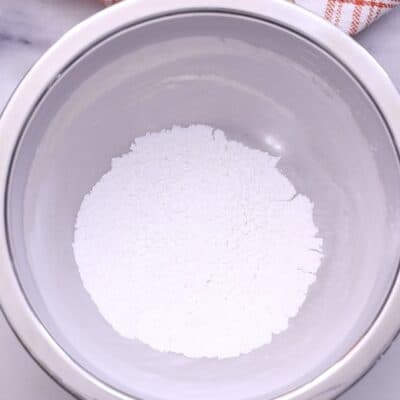
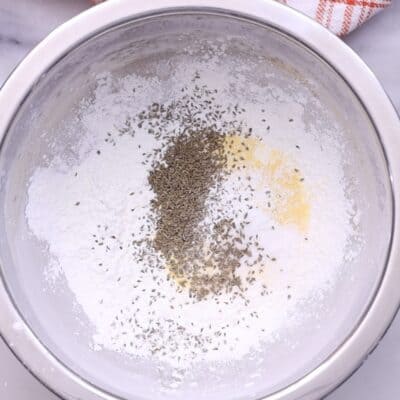
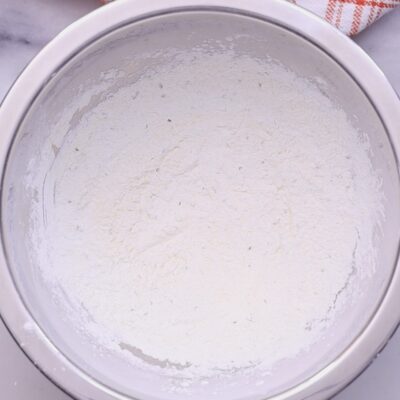
- Combine dry ingredients.
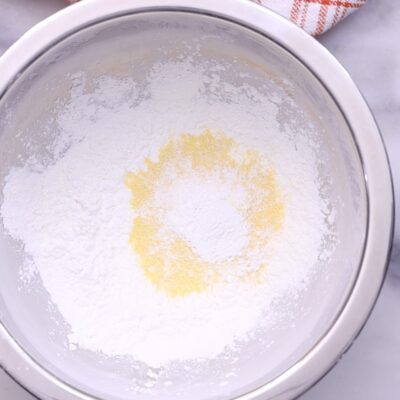
- Make a well in the center.
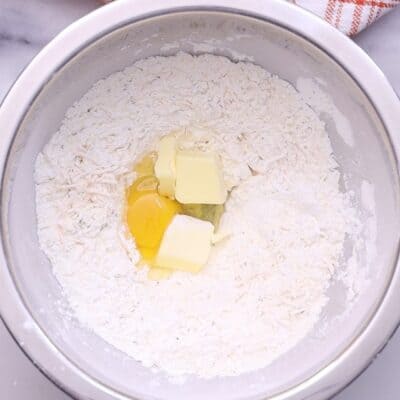
- Cream butter and eggs until creamy.
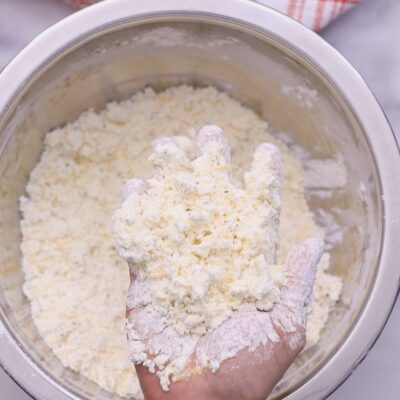
- Combine wet and dry ingredients until a coarse crumb forms.
- Add cheese.
- Gradually mix in milk.
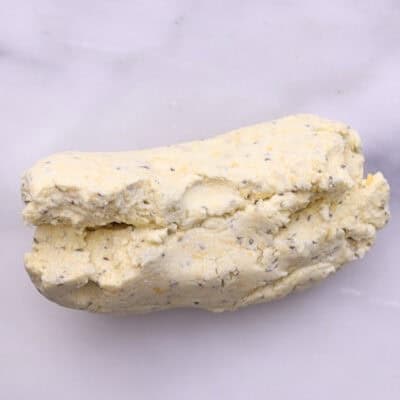
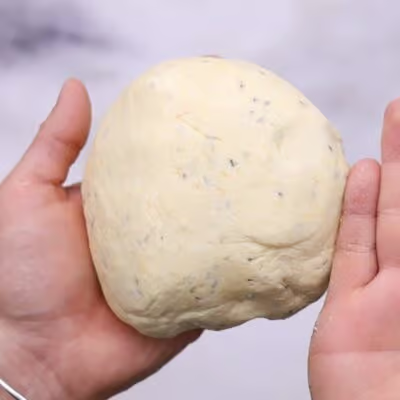
- Knead until smooth and homogeneous.
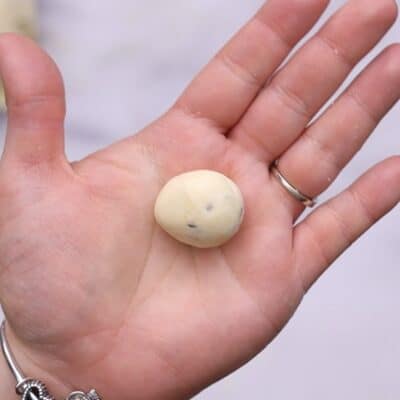
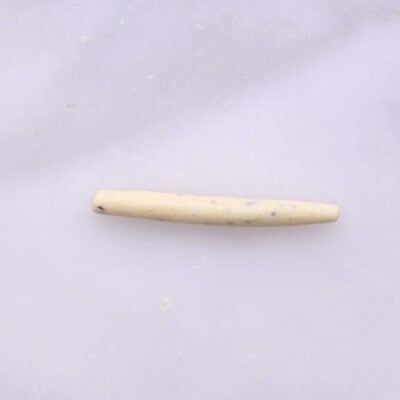
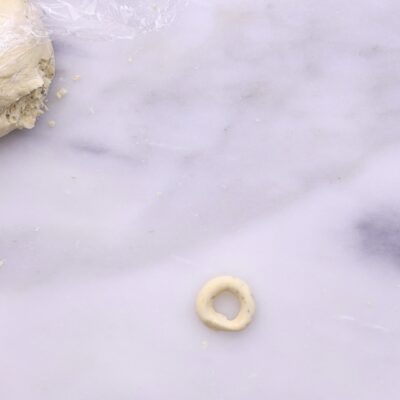
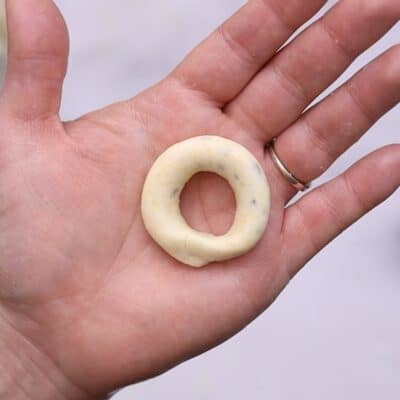
- Shape the dough.
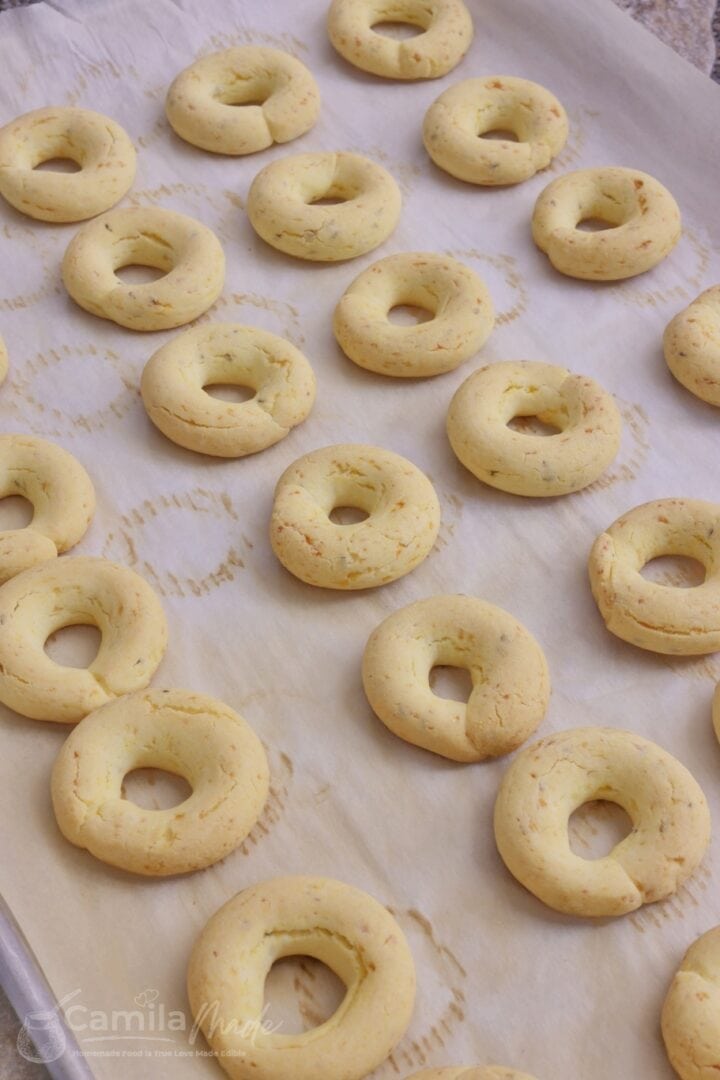
- Place on baking sheets and bake until crisp and crunchy.
- Chipa is best served fresh out of the oven.
💡If you have kids, this recipe is a great way to get them involved in the kitchen—it’s straightforward and fun. My kids and I have been making Chipitas together for years. They enjoy shaping the dough, and I'm grateful for their help because while the recipe is simple, shaping all those small pieces can become a bit tedious, so having help is great! Plus, it’s a wonderful way to spend quality time together. 😉
Camila's Tips and Advice
- Since the recipe is gluten-free, there's no risk of over-kneading. Just make sure to mix the ingredients thoroughly for even distribution, which helps make the chipas lighter.
- Avoid overbaking to prevent the bottoms from burning or the chipas from drying out; a baking time of 15 to 20 minutes should be enough.
- The right consistency is crucial for making good chipita; the dough should be compact and moist but not overly moist.
- While you can shape chipa in any way you prefer, the tradition is to keep it small, which is why it's called Chipita.
- The amount of units you get depends on the size you make your chipitas.
- Place each chipita on the prepared baking sheet and cover them with a clean kitchen cloth to prevent them from drying out while you finish shaping all the pieces of dough.
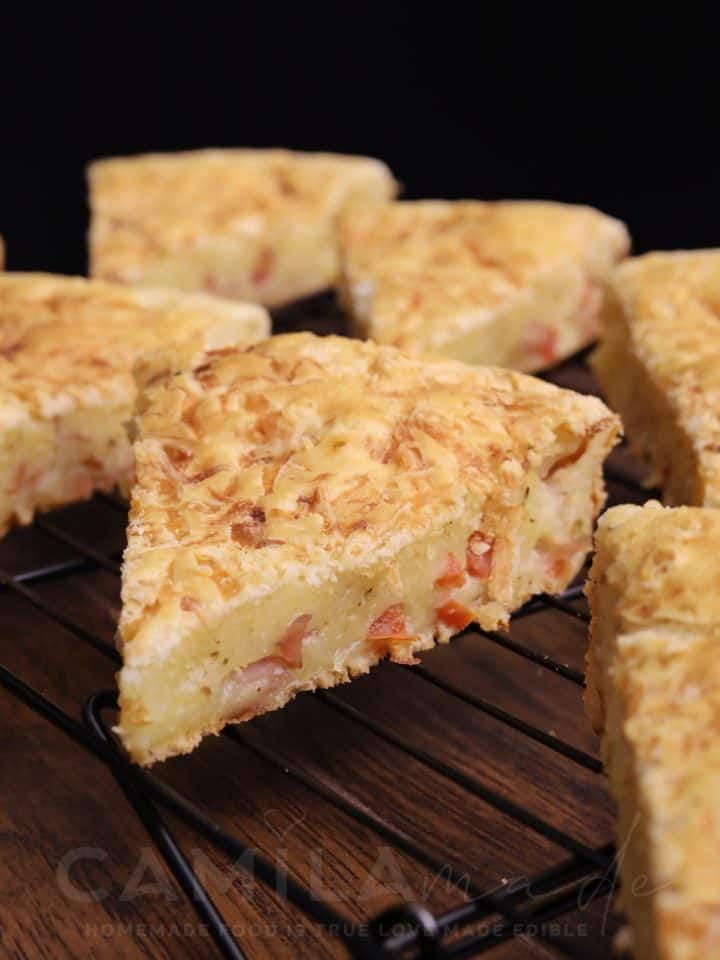
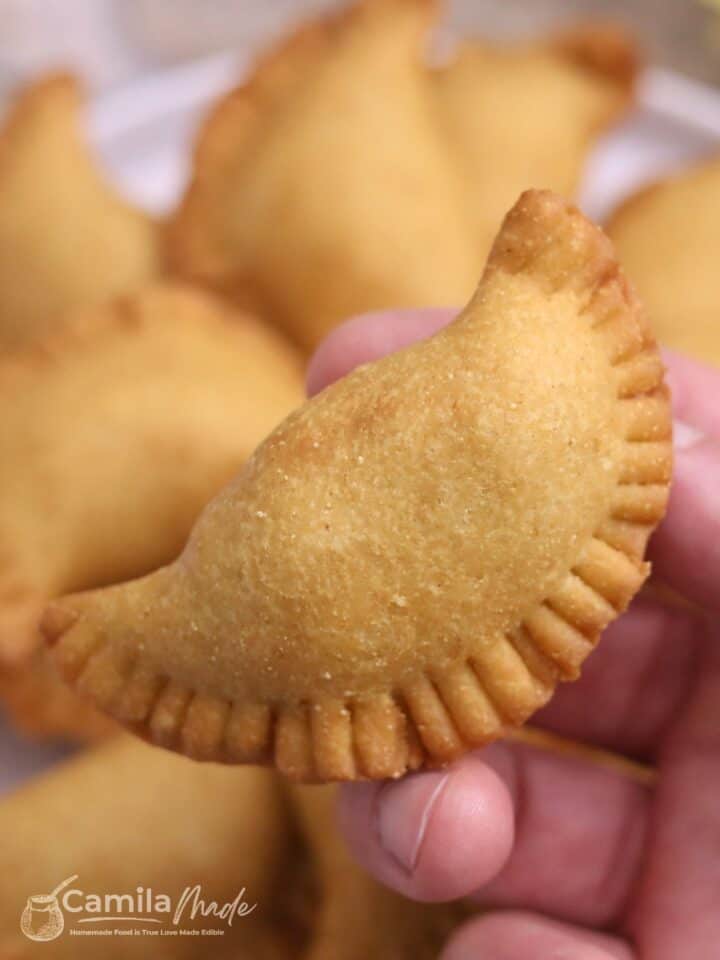
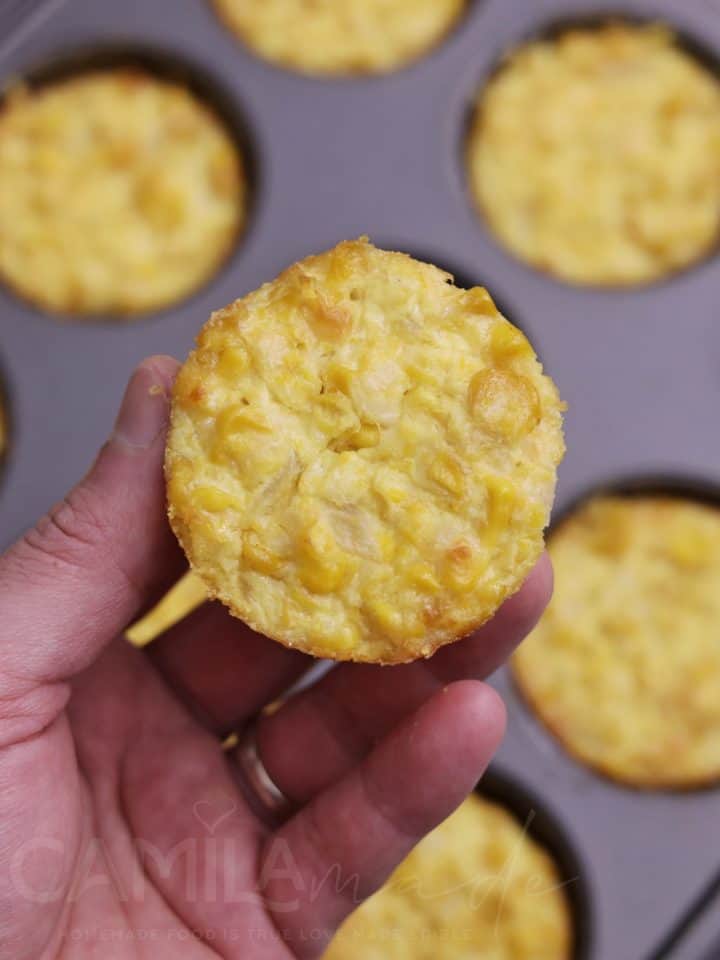
See More Chipa Recipes:
📖 Recipe
Chipa Pirú: Crunchy Paraguayan Chipa
Tools
- Measuring Cups & Spoons
Ingredients
- 116 g Yuca Starch also known as Tapioca Starch
- 110 g corn starch
- 44 g Quaker cornmeal
- 80 g Mexican Shredded Cheese
- ½ tablespoon baking powder
- 60 g butter softened to room temperature
- 7 tablespoons 2% milk or water as needed, room temperature
- 1 large egg , room temperature
- 1 teaspoon kosher salt
Instructions
- Preheat your oven to 400°F (200°C)—line (2) 13x18x1 baking sheets with parchment paper.
- In a large mixing bowl, combine the yuca starch, cornstarch, cornmeal, baking powder, cheese, and salt. Mix well and set aside.
- Add the softened butter and eggs to the dry ingredients. Use your fingers to mix the eggs and butter until it resembles a coarse crumb.
- Mix in the cheese until it's well integrated.
- Add a bit of milk to the mixture, adding just enough to prevent it from becoming too firm and to make it easy to knead. Continue mixing with your hands until it is compact and homogeneous. When done, the dough should have a smooth playdough-like consistency.
- Pinch off small pieces of dough (about 10g each) and make small circles or doughnuts, about one inch in diameter, by rolling a small amount of dough into a log and then joining the ends to form a circle. Press gently to seal.
- Place the shaped Chipa on the prepared baking sheet and bake in the preheated oven until they crisp, about 20 minutes. Keep an eye on them to avoid burning.
Notes
All nutritional information is based on third-party calculations and is only an estimate. Each recipe and nutritional value will vary depending on the brands you use, measuring methods, and portion sizes per household.
