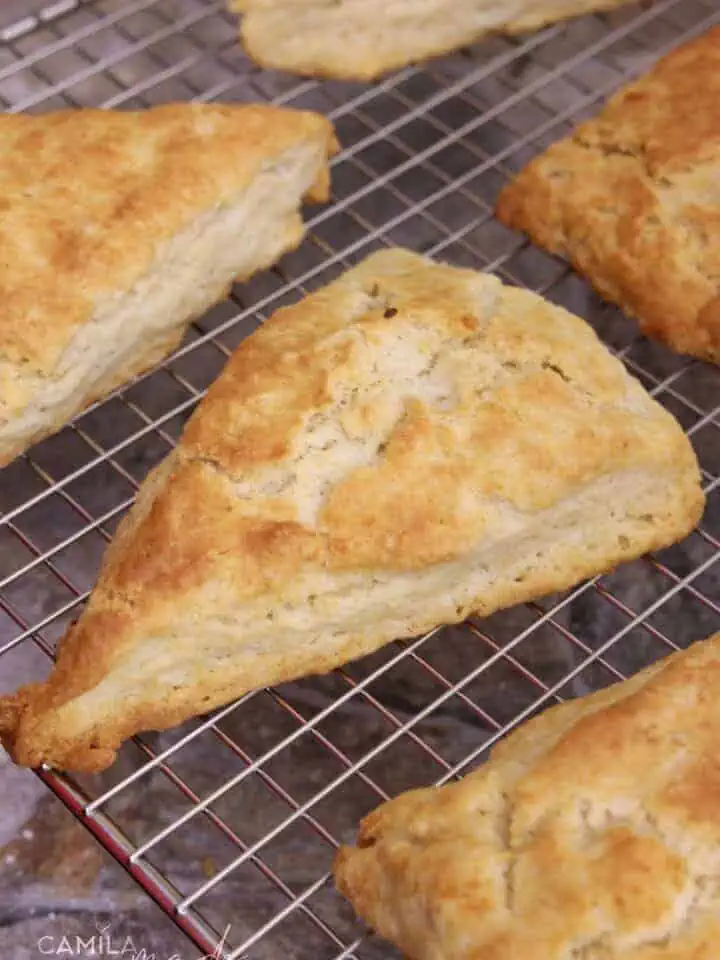
Skip the long lines and savor the taste of homemade goodness with our Easy Orange Scones Recipe. These tender and tangy scones go above and beyond, surpassing the orange scone from Panera Bread.
With straightforward instructions suitable for any baking expertise, you can effortlessly whip up these delightful treats in your kitchen. Whether enjoyed for breakfast, as a satisfying snack, or as the star of your brunch table, our Easy Orange Scones will impress and leave everyone wanting more.
For even more tasty scone recipes, be sure to explore our delicious variations. We offer an extensive selection of scone recipes, with new ones frequently being added. There's truly nothing better than the aroma of freshly baked scones to accompany your coffee.☕️🤤 Our classic scones can be customized to your taste, whether you prefer a sweet or savory base.
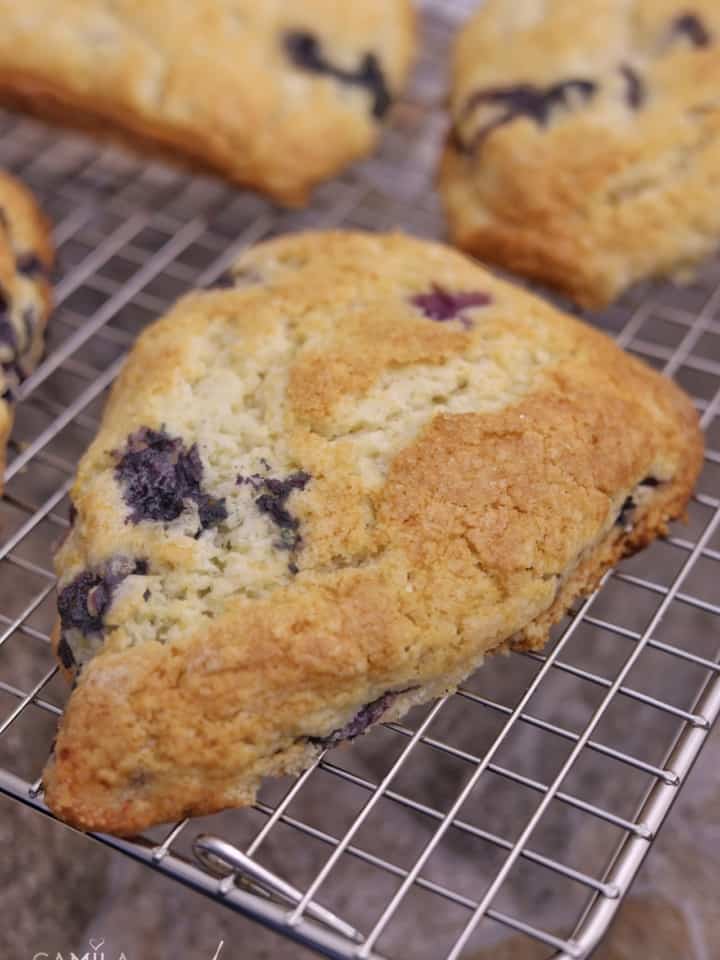
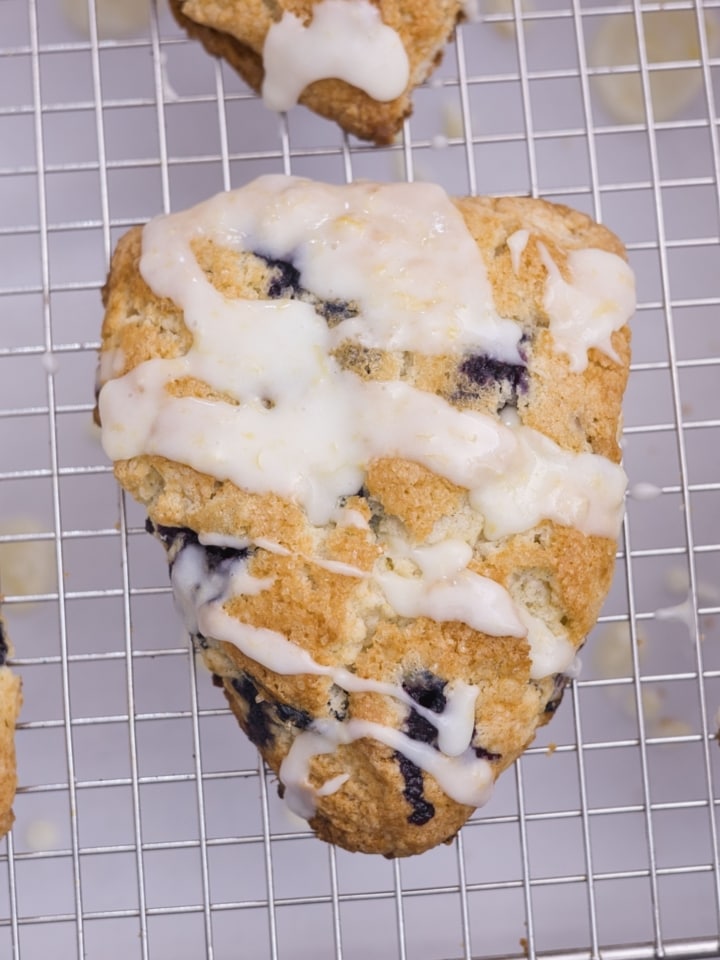
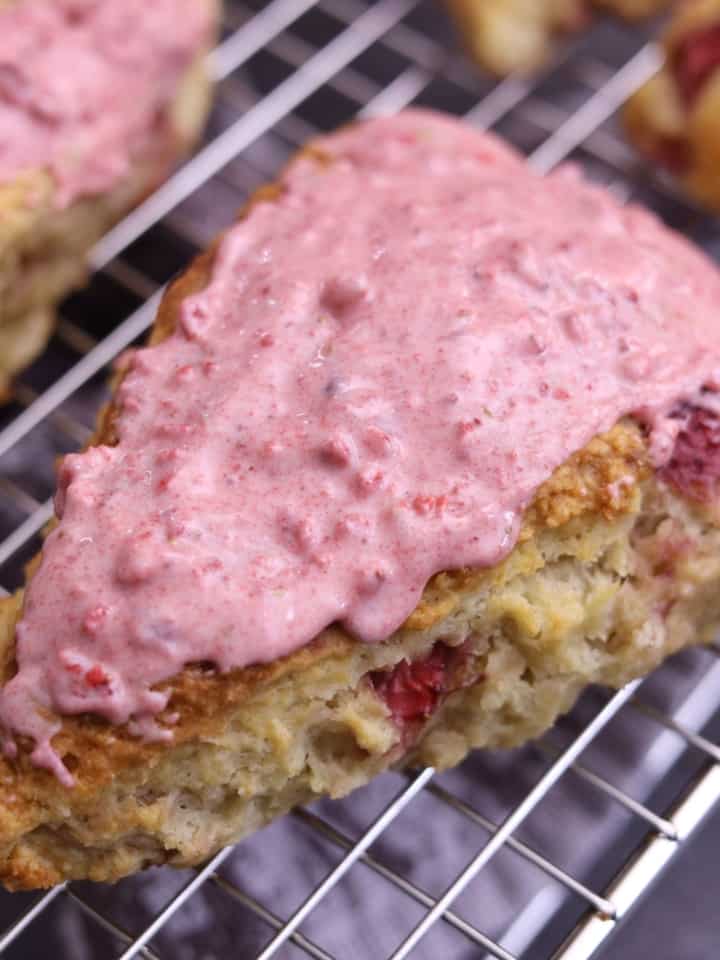
Treat yourself to the irresistible combination of tangy lemon and juicy blueberries with our mouthwatering Lemon Blueberry Scones. Each bite bursts with a citrusy flavor and the perfect balance of sweetness. For chocolate lovers, our delectable Chocolate Chip Scones are sure to satisfy your cravings. For a delightful taste of spring, we highly recommend our Strawberry Scones with a luscious strawberry shell topping.
If you're in the mood for something exotic, our Tropical Guava Scones offer a unique flavor experience. As autumn approaches, treat yourself to the seasonal delight of our Pumpkin Scones with Pumpkin Glaze. And let's not forget our heavenly Vanilla Scones that simply melt in your mouth, Maple Whole Wheat Scones with a nutty twist, delightful Whole wheat Banana Scones infused with natural sweetness, and the irresistible Whole Wheat Blueberry Scones with Honey Glaze. With so many scrumptious scone recipes on our website, we are confident you'll find something to satisfy your cravings.
How to Make Orange Scones
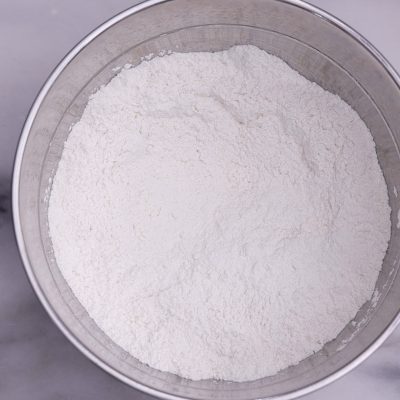
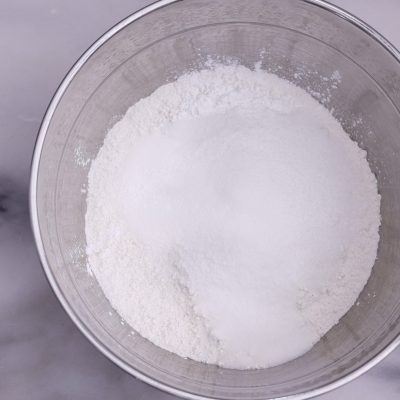
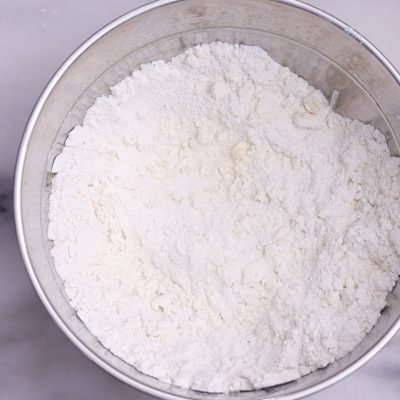
Note: The full instructions are provided in the recipe card below.Preheat the oven to 400°F (200°C). Line two baking sheets with parchment paper and set aside. In a large mixing bowl, combine the all-purpose flour, baking powder, salt, and sugar. Mix well. Using a pastry blender, cut in the cold butter until the mixture resembles coarse crumbs with pea-sized clumps of butter within.
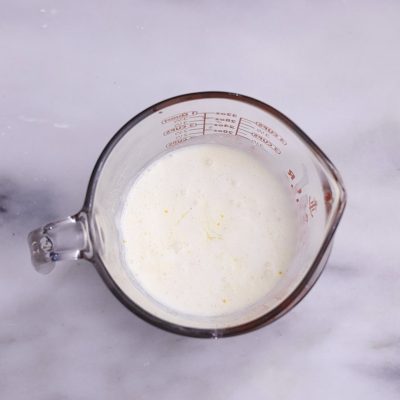
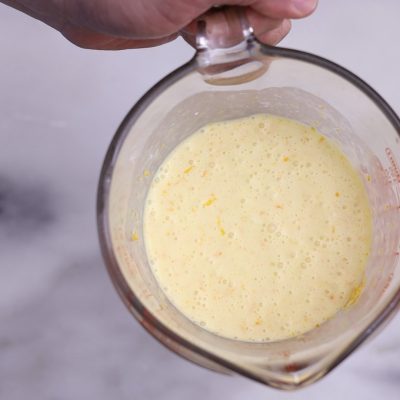
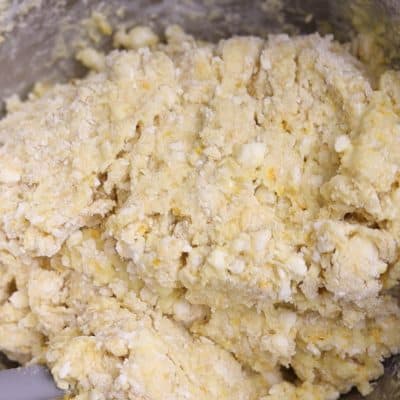
Alternatively, you can use your fingers to rub the cold butter into the dry ingredients. In a separate bowl, whisk together the cold heavy cream, orange juice, Grand Marnier, vanilla, zest, and eggs until combined. Gradually add the wet mixture to the dry mixture, folding until the dough just comes together. It may be a bit crumbly, but that’s perfectly fine. Be careful not to overwork the dough, which can result in tough scones.
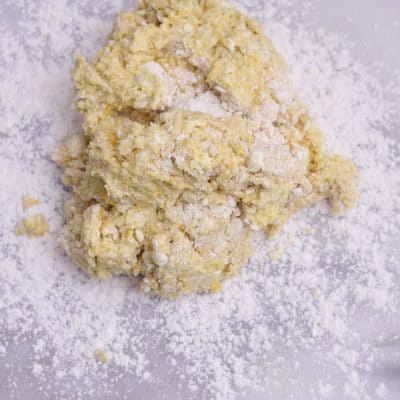
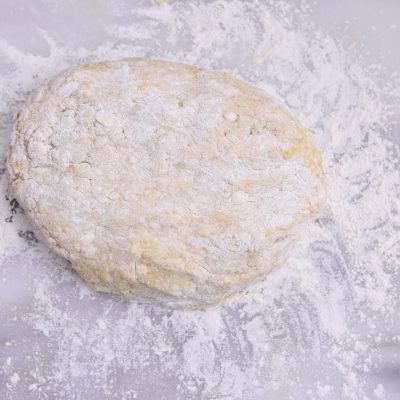
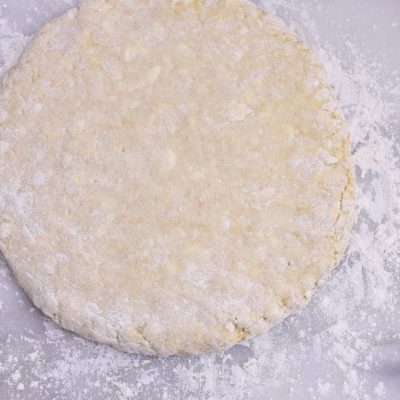
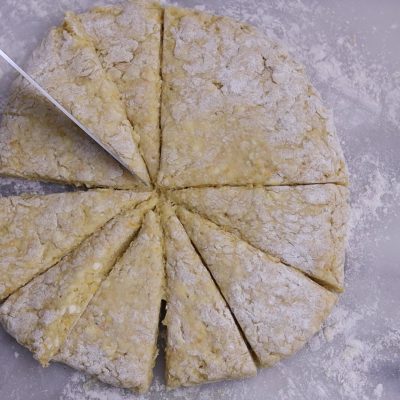
Dump the dough out onto a very well-floured surface. Sprinkle a little more flour over the dough to prevent sticking. Flour your hands and knead gently into a ball. Press the dough into a circle approximately 1 inch thick, adding a little flour as needed to prevent sticking to the working surface. Cut the circle of scone dough into 12 tringle-shaped pieces using a bench scraper or a long sharp knife.
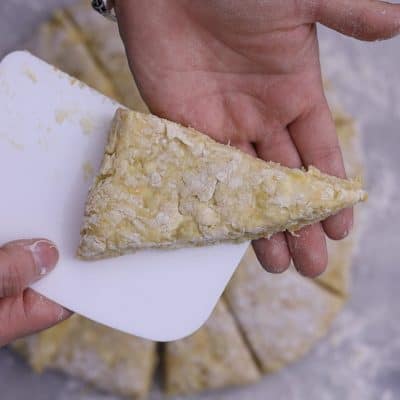
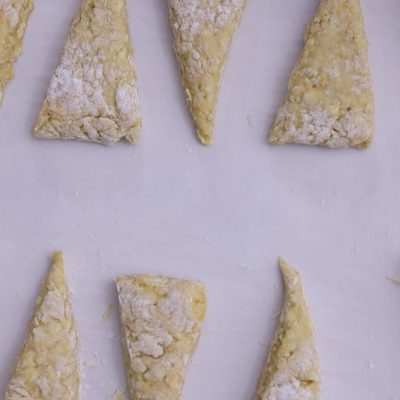
Carefully wiggle the slices to loosen them from the surface, making it easier to lift them. Using a bench scraper or your hands, gently lift each slice and place them onto the prepared baking sheets, leaving some space between each scone. Chill the scones in the freezer for 20 to 25 minutes before baking. Preheat the oven to 400ºF. Once chilled, lightly brush the tops of the scones with cream and sprinkle with turbinado sugar if desired.
Bake the scones for 20 minutes, rotating the pans halfway through, until the tops are lightly browned and the insides are fully baked. Remove the Lemon Blueberry scones from the oven and allow them to cool for 15 minutes on the cookie sheet, then transfer them to a cooling rack to cool completely.
How to Make Orange Glaze
In a medium-sized bowl, combine the melted butter, powdered sugar, vanilla extract, orange zest, and freshly squeezed orange juice. Mix until smooth and well combined. Drizzle the glaze over the scones. Allow the glaze to set for a few minutes before serving to let it slightly harden. If the glaze seems too stiff to drizzle, warm it in the microwave for 5 to 10 seconds to loosen up.
See More Scones Recipes:
- Whole Wheat Lemon Blueberries Scones
- Guava Scones
- Vanilla Scones
- Pumpkin Scone
- Chocolate Chip Scones
- Maple Scones
📖 Recipe
Easy Orange Scones
Skip the long lines and savor the taste of homemade goodness with our Easy Orange Scones Recipe. These tender and tangy scones go above and beyond, surpassing the orange scone from Panera Bread. With straightforward instructions suitable for any baking expertise, you can effortlessly whip up these delightful treats in your kitchen. Whether enjoyed for breakfast, as a satisfying snack, or as the star of your brunch table, our Easy Orange Scones will impress and leave everyone wanting more.
Tools
Ingredients
For the Orange Scones:
- 500 g (4 cups) all-purpose flour
- 150 g (¾ cup) granulated sugar
- 2 tablespoons baking powder
- 1 teaspoon Kosher salt
- 226 (2 sticks) cold unsalted butter , diced
- 4 large eggs , lightly beaten
- ¾ cup cold heavy cream , adjust as necessary
- 2 tablespoons freshly squeezed orange juice or milk
- 1 tablespoon Grand Marnier, or any other orange-flavored liqueur of your choice or freshly squeezed orange juice
- 1 tablespoon pure vanilla extract or freshly squeezed orange juice
- ¼ cup orange zest
To Brush:
- 2 to 3 tablespoons Cream to brush the scones
- 1 tablespoon turbinado sugar for sprinkling
For the Orange Glaze:
- 130 g (1 cup) powdered sugar
- 14 g (1 teaspoon) unsalted butter, melted
- ½ teaspoon pure vanilla extract
- 2 tablespoons freshly squeezed orange juice
- zest from 1 orange
Instructions
For the Orange Scones:
- Preheat the oven to 400°F (200°C). Line two baking sheets with parchment paper and set aside. In a large mixing bowl, combine the all-purpose flour, baking powder, salt, and sugar. Mix well. Using a pastry blender, cut in the cold butter until the mixture resembles coarse crumbs with pea-sized clumps of butter within.
- Alternatively, you can use your fingers to rub the cold butter into the dry ingredients. In a separate bowl, whisk together the cold heavy cream, orange juice, Grand Marnier, vanilla, zest, and eggs until combined. Gradually add the wet mixture to the dry mixture, folding until the dough just comes together. It may be a bit crumbly, but that’s perfectly fine. Be careful not to overwork the dough, as this can result in tough scones.
- Dump the dough out onto a very well-floured surface. Sprinkle a little more flour over the dough to prevent sticking. Flour your hands and knead gently into a ball. Press the dough into a circle approximately 1 inch thick, adding a little flour as needed to prevent sticking to the working surface. Cut the circle of scone dough into 12 tringle-shaped pieces using a bench scraper or a long sharp knife.
- Carefully wiggle the slices to loosen them from the surface, making it easier to lift them. Using a bench scraper or your hands, gently lift each slice and place them onto the prepared baking sheets, leaving some space between each scone. Chill the scones in the freezer for 20 to 25 minutes before baking. Preheat the oven to 400ºF. Once chilled, lightly brush the tops of the scones with cream and sprinkle with turbinado sugar if desired.
- Bake the scones for 20 minutes, rotating the pans halfway through, until the tops are lightly browned and the insides are fully baked. Remove the Lemon Blueberry scones from the oven and allow them to cool for 15 minutes on the cookie sheet, then transfer them to a cooling rack to cool completely.
How to Make Orange Glaze
- In a medium-sized bowl, combine the melted butter, powdered sugar, vanilla extract, orange zest, and freshly squeezed orange juice. Mix until smooth and well combined. Drizzle the glaze over the scones. Allow the glaze to set for a few minutes before serving to let it slightly harden. If the glaze seems too stiff to drizzle, warm it in the microwave for 5 to 10 seconds to loosen up a bit.
Notes
How to Store & Re-Heat
To store your Orange Scones, allow them to cool completely to room temperature. Once cooled, place them in an airtight container or sealable bag. They can be stored at room temperature for up to 3 days or in the refrigerator for up to 5 days.
Orange Scones can be enjoyed at room temperature or straight from the fridge, but if you prefer to warm them before serving, follow these methods for reheating:
To reheat the scones, there are a few methods you can choose from:
Oven: Preheat your oven to 350°F (175°C). Place the scones on a baking sheet and bake for about 5-10 minutes until warmed through.
Toaster Oven: Slice the scones in half horizontally and lightly toast them in a toaster oven until warm.
Microwave: Place a scone on a microwave-safe plate and heat on medium power for about 10 seconds until warmed. Be careful not to overheat, as the scones can become dry. Remember that reheating can affect the texture slightly, so it’s best to enjoy the scones fresh if possible. How to Make-Ahead Orange Scones can be made a day ahead—store in the refrigerator for up to 5 days. Reheat in a warm oven for 5-8 minutes. Unbaked Orange Scones can be made a day ahead and kept covered in the fridge overnight. Bake directly from frozen, as directed in the recipe, but add 1 to 2 extra minutes to the baking time. How to Freeze Orange Scones can be frozen for up to 3 months. To freeze Scones before baking, make the scones according to the recipe; place the raw scones on a baking sheet, let them freeze until solid, then place them in a freezer-safe bag and press out as much air as possible. Bake directly from frozen, as directed in the recipe, but add 1 to 2 extra minutes to the baking time. To freeze orange scones after baking, let them cool completely and store them in a freezer-safe airtight container or bag for up to 3 months. Before serving, remove the scones from the container and let them come to room temperature; warm them up in the microwave if desired. For the best result, I highly recommend that you freeze them before baking.
Nutrition Facts
Easy Orange Scones
Amount per Serving
Calories
474
% Daily Value*
Fat
24
g
37
%
Saturated Fat
14
g
88
%
Trans Fat
1
g
Polyunsaturated Fat
1
g
Monounsaturated Fat
6
g
Cholesterol
122
mg
41
%
Sodium
438
mg
19
%
Potassium
109
mg
3
%
Carbohydrates
59
g
20
%
Fiber
2
g
8
%
Sugar
25
g
28
%
Protein
7
g
14
%
Vitamin A
843
IU
17
%
Vitamin C
7
mg
8
%
Calcium
157
mg
16
%
Iron
3
mg
17
%
* Percent Daily Values are based on a 2000 calorie diet.
All nutritional information is based on third-party calculations and is only an estimate. Each recipe and nutritional value will vary depending on the brands you use, measuring methods, and portion sizes per household.
Did you Like the Recipe?We would appreciate it if you could rate it. Also, make sure to check out our Youtube Channel for more great recipes. Please share it on social media and tag us so we can see your delicious creations. Thank you!
