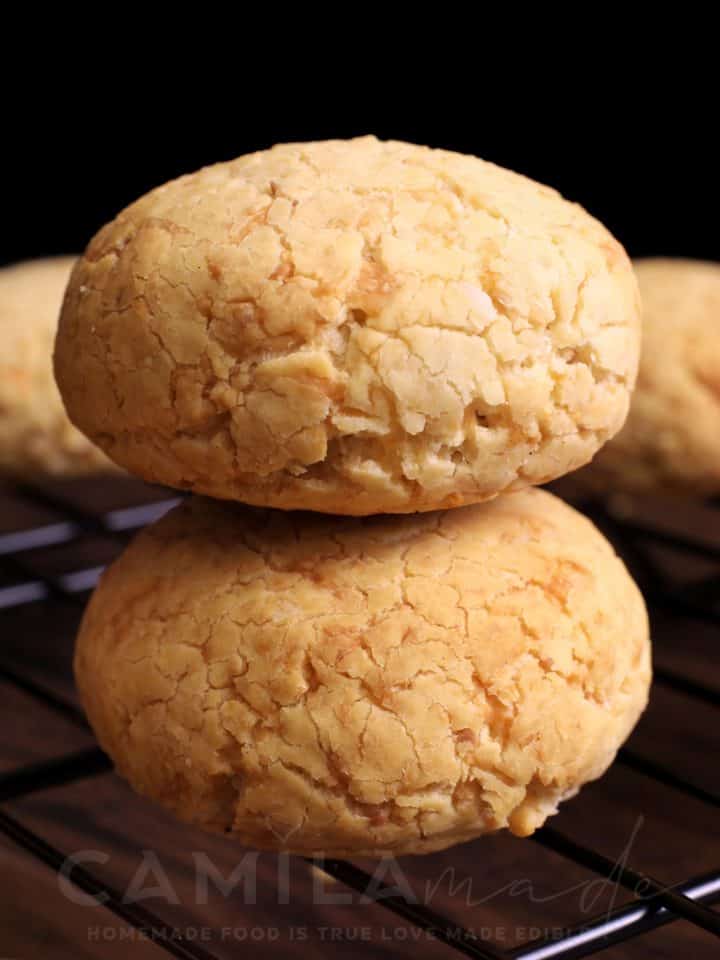
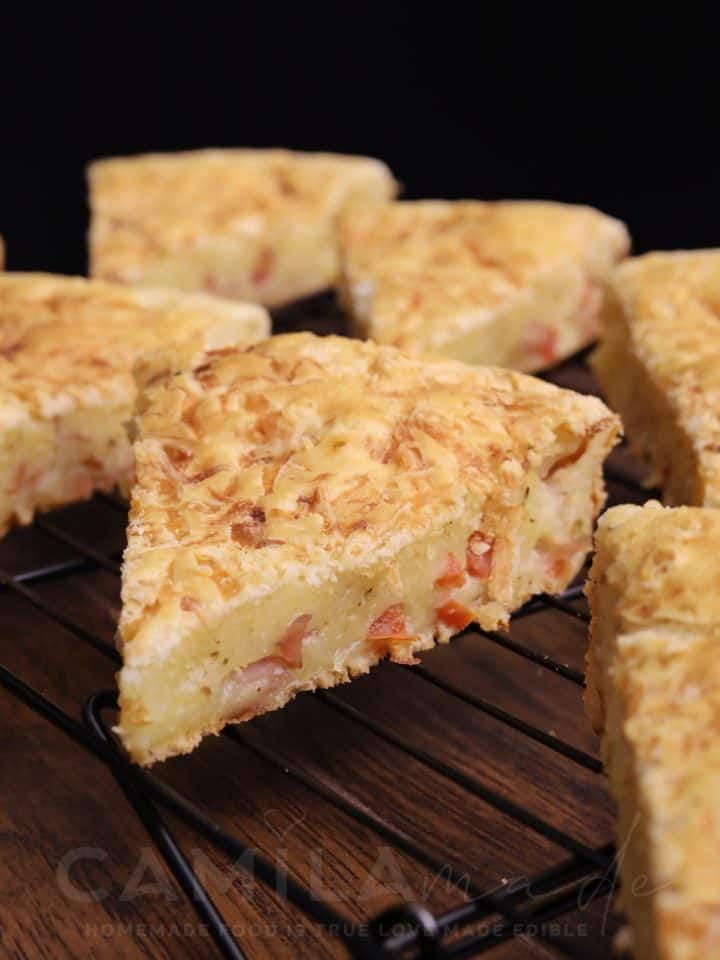
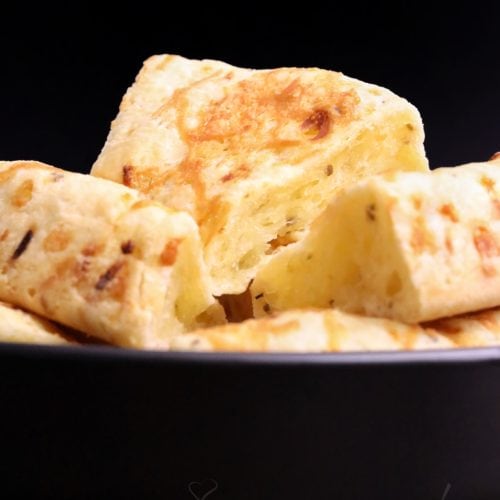
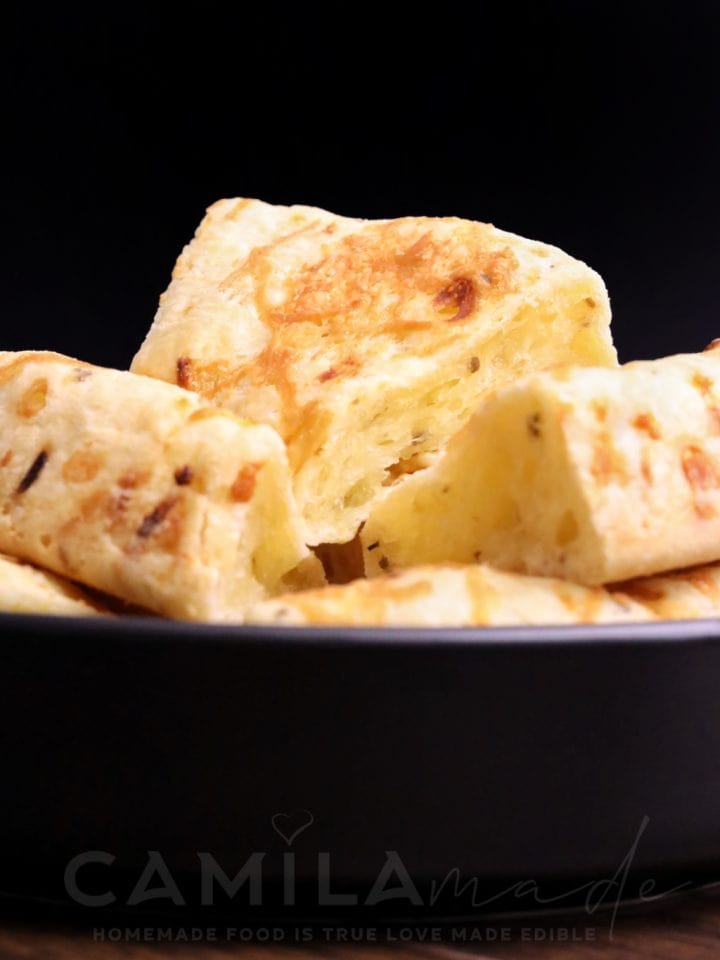
I love making Chipa and experimenting with different ways to prepare it. My Rosca de Chipa is a take on the classic, keeping the traditional flavors but with a fun, ring-shaped twist.
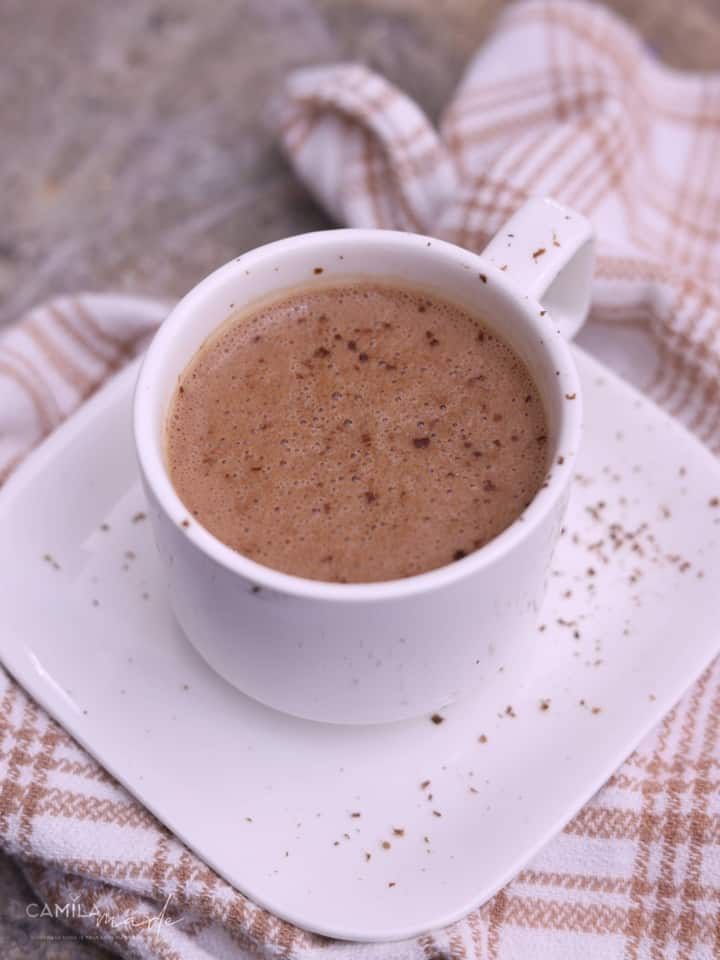
It has all the same texture and flavor, but it’s much simpler and faster to make. This recipe was inspired by my chipa muffin recipe on this site and pairs perfectly with a delicious mate cocido.
Jump to:
🛒Ingredients You’ll Need
- Whole Milk: Adds richness and creates a soft, tender texture in the dough.
- Water: Keeps the dough hydrated and balances the richness of the milk.
- Kosher Salt: Enhances all the flavors, bringing the ingredients together.
- Oil: Adds tenderness to the dough and helps achieve a perfectly crispy outside. You can use any neutral oil—I’ve even used extra virgin olive oil, which works great, though it adds a stronger flavor.
- Tapioca Starch: The star ingredient that gives Chipa its signature chewy texture and makes it gluten-free.
- Eggs: Help bind the dough and give the bread a light, fluffy interior.
- Parmesan Cheese: Adds a sharp, salty kick that enhances the cheesiness. I often substitute with Grana Padano—it’s just as delicious!
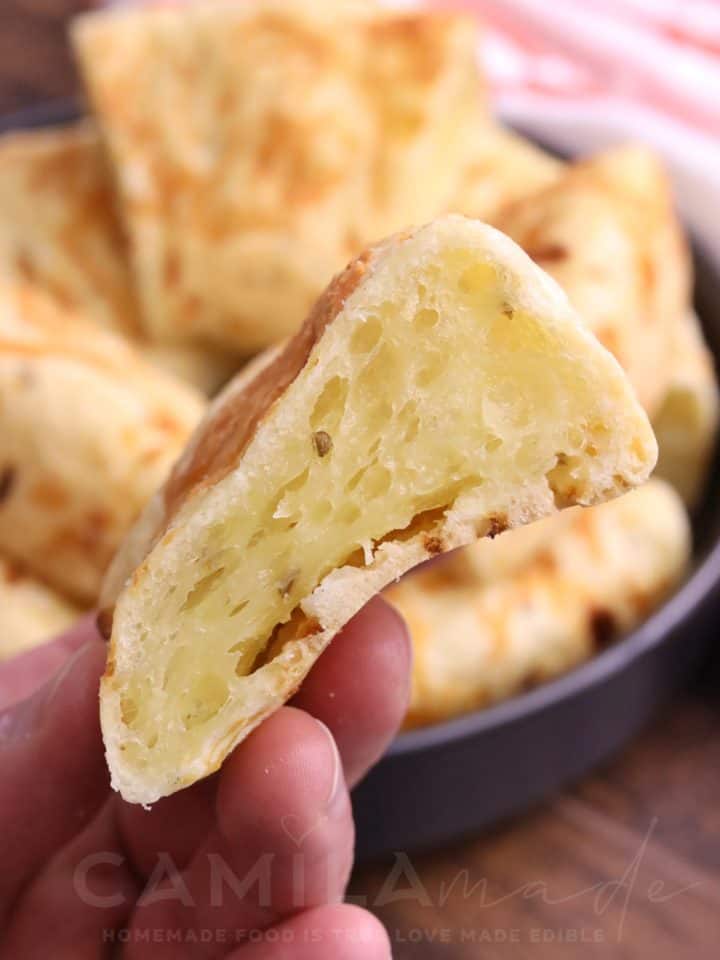
- Mozzarella Cheese: Brings a mild, creamy flavor that makes the bread soft and gooey inside.
See the recipe card for quantities.
👩🍳How to Make Rosca de Chipa
Note: Full instructions are provided in the recipe card below.
- Preheat oven to 400°F (200°C).
- Heat milk, water, salt, and oil in a pot; bring to a boil, then remove from heat.
- Mix tapioca flour with hot milk mixture until crumbly.
- Add eggs one at a time, then mix in Parmesan and mozzarella until dough is slightly sticky.
- Scoop dough into a 10-inch cake pan, forming a ring shape.
- Bake for 15-20 minutes until golden brown.
- Cool slightly, then serve and enjoy!
🍽️Serving Suggestions
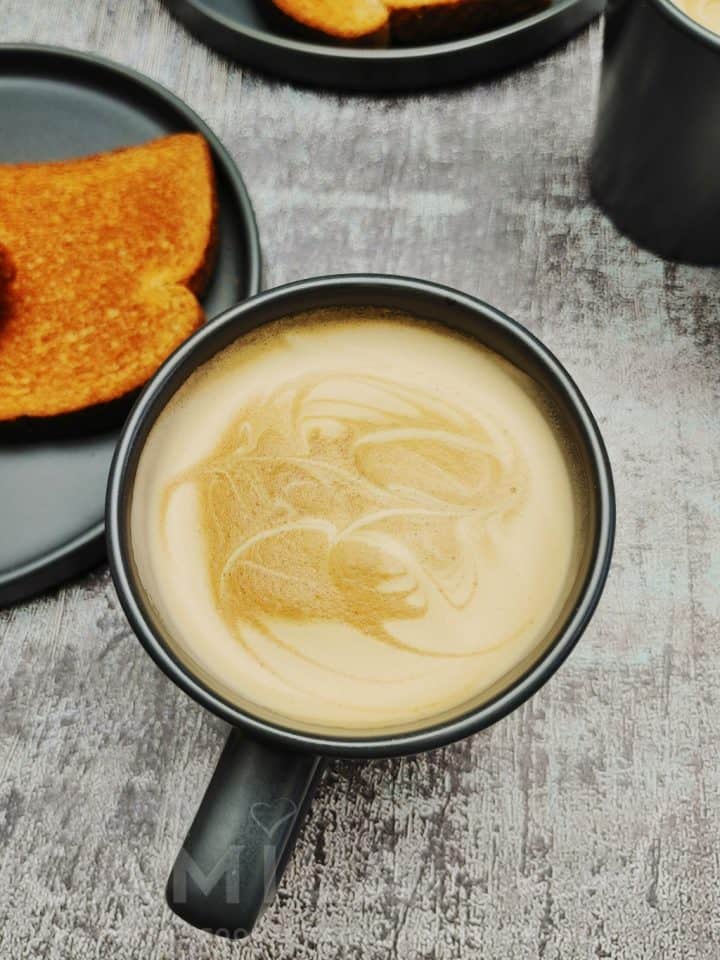
Serve your Rosca de Chipa warm, paired with a hot cup of mate cocido, coffee, or tea for a perfect breakfast or afternoon snack. It also makes a great accompaniment to soups and stews.
🫙Storage & Reheating
Store your Rosca de Chipa in an airtight container at room temperature for up to 3 days. To reheat, use the microwave for just a few seconds—be careful not to overheat, as it can become tough.
❄️Make Ahead & Freezing:
It’s not advisable to make the dough ahead of time or freeze it. This recipe is best enjoyed fresh.

📝Camila's Tips & Variations
Microwave for just a few seconds to avoid making the Rosca de Chipa tough.
Try Parmesan or Mexican blend cheese, or experiment with cheddar.
🛠️ Frequently Asked Questions
Can I make Rosca de Chipa without oil?
Yes, you can substitute oil with butter or margarine.
Can I use water instead of milk in Rosca de Chipa?
Yes, but the result will be less rich and flavorful.
Can I substitute the cheese?
Yes! You can use other cheeses like Mexican blend, cheddar, or whatever you have on hand. Just keep in mind that this may change the flavor and texture slightly.
🥗 Pair with
📋 You may also like
📖 Recipe
Rosca de Chipa
Tools
- Stand Mixer or
- 10-inch round cake pan
Ingredients
- 226 g tapioca starch
- 60 ml whole milk
- 60 ml water
- ½ teaspoon kosher salt
- 120 ml neutral oil
- 2 large eggs
- 50 g freshly grated Parmesan cheese
- 28 g shredded mozzarella cheese
Instructions
- Preheat the oven to 400°F (200°C).
- In a medium pot, combine the milk, water, salt, and oil. Bring the mixture to a boil, then immediately remove from heat.
- In a stand mixer fitted with a paddle attachment (or a large bowl using a wooden spoon), add the tapioca flour, then pour in the hot liquid until the dough forms a crumbly texture.
- Add the eggs one at a time, mixing thoroughly after each addition. Once the eggs are fully incorporated, add the Parmesan and mozzarella until the dough is smooth and slightly sticky.
- Scoop the dough into an ungreased 10-inch round cake pan, shaping it into a ring. Sprinkle with Parmesan cheese if desired.
- Bake for 15-20 minutes or until the dough is puffed and golden brown.
- Let it cool slightly, then slice and serve warm.
Notes
All nutritional information is based on third-party calculations and is only an estimate. Each recipe and nutritional value will vary depending on the brands you use, measuring methods, and portion sizes per household.
