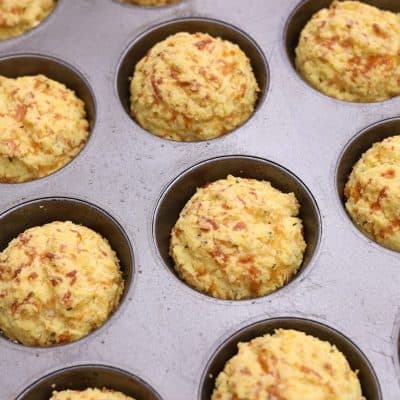
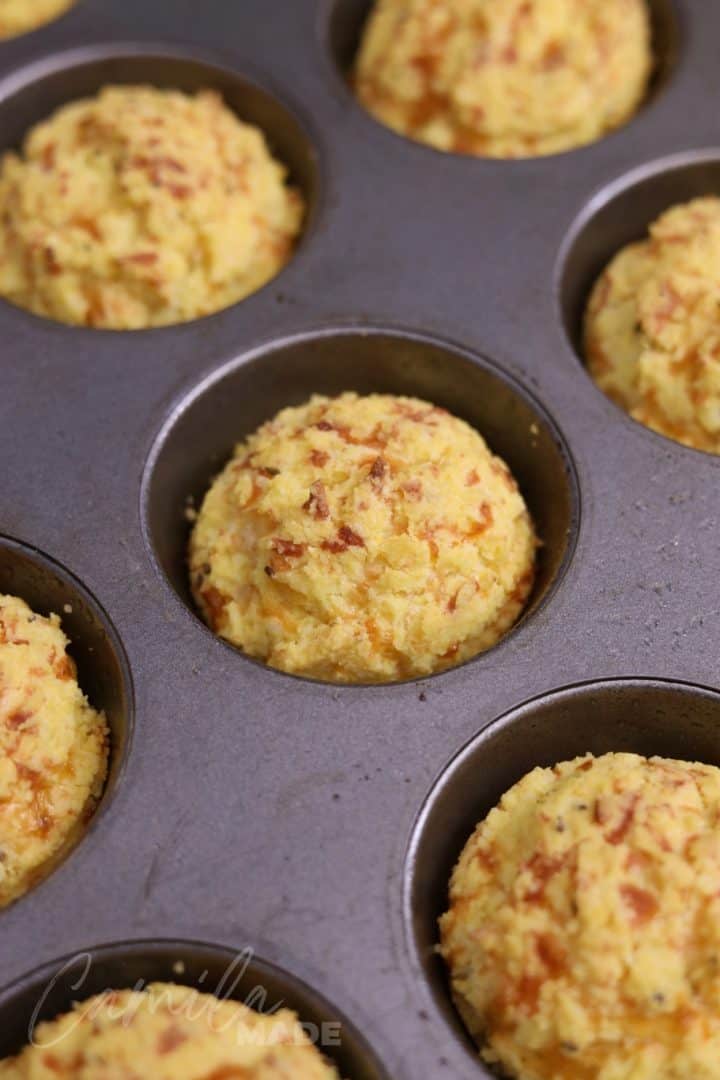
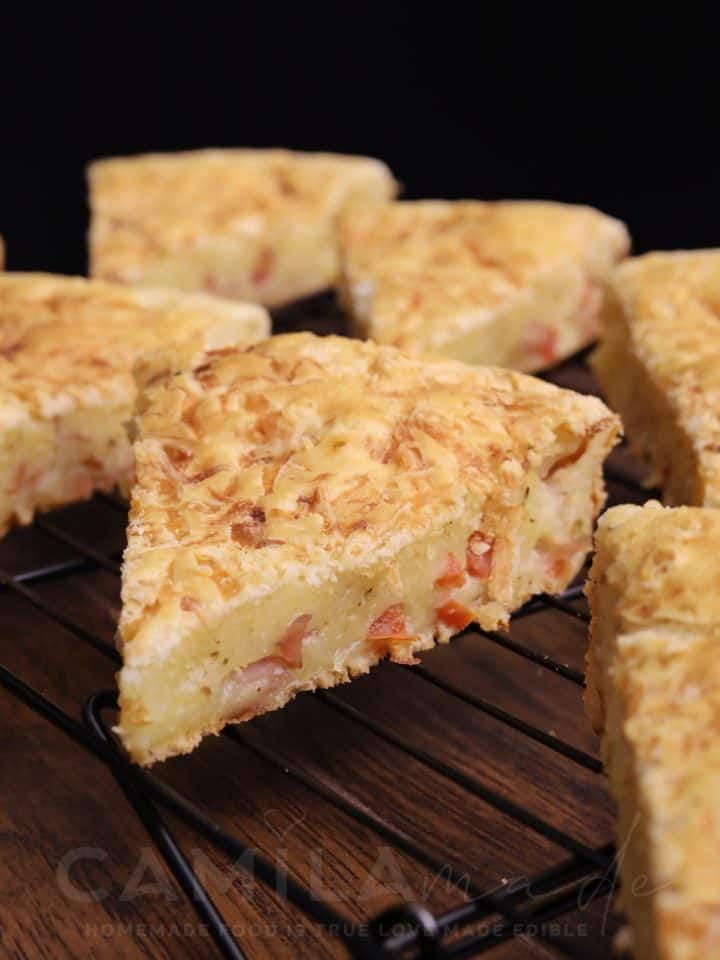
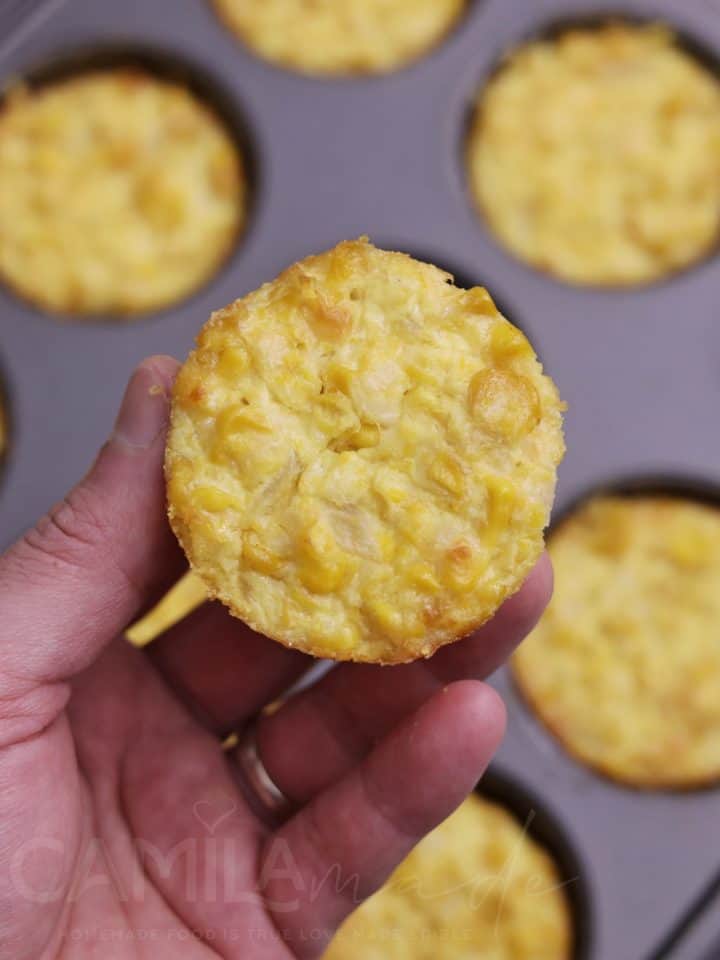
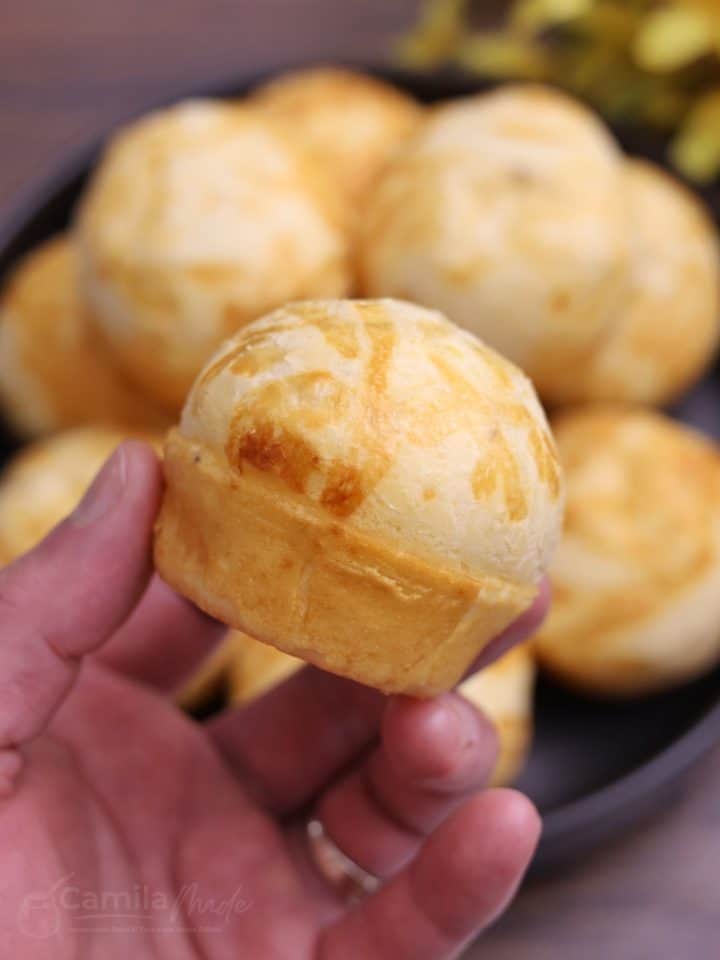
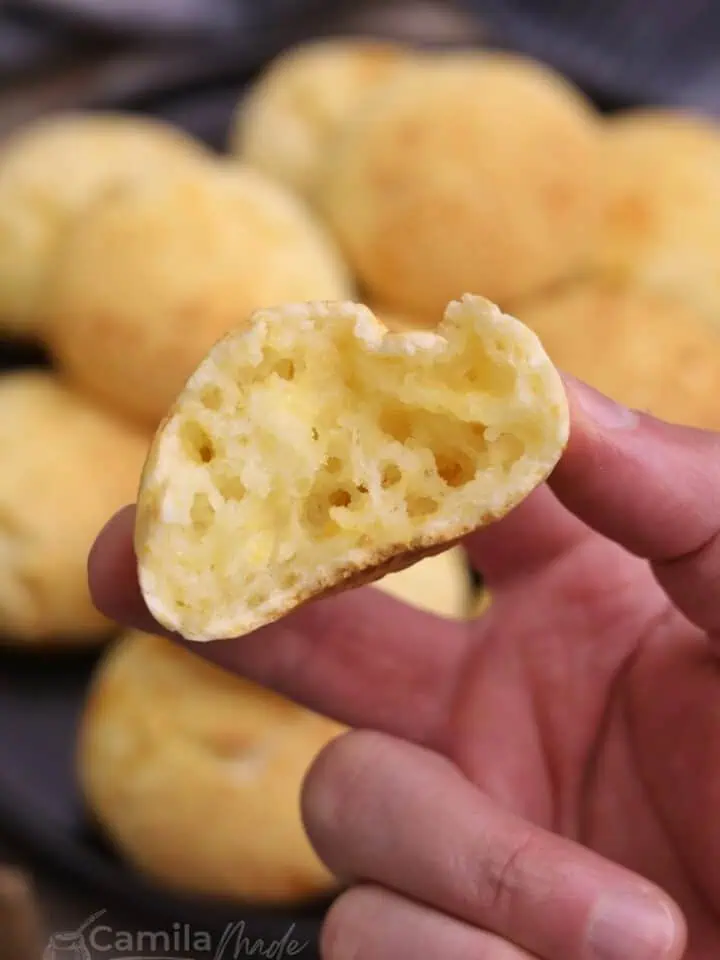
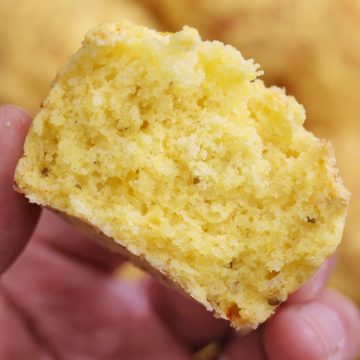
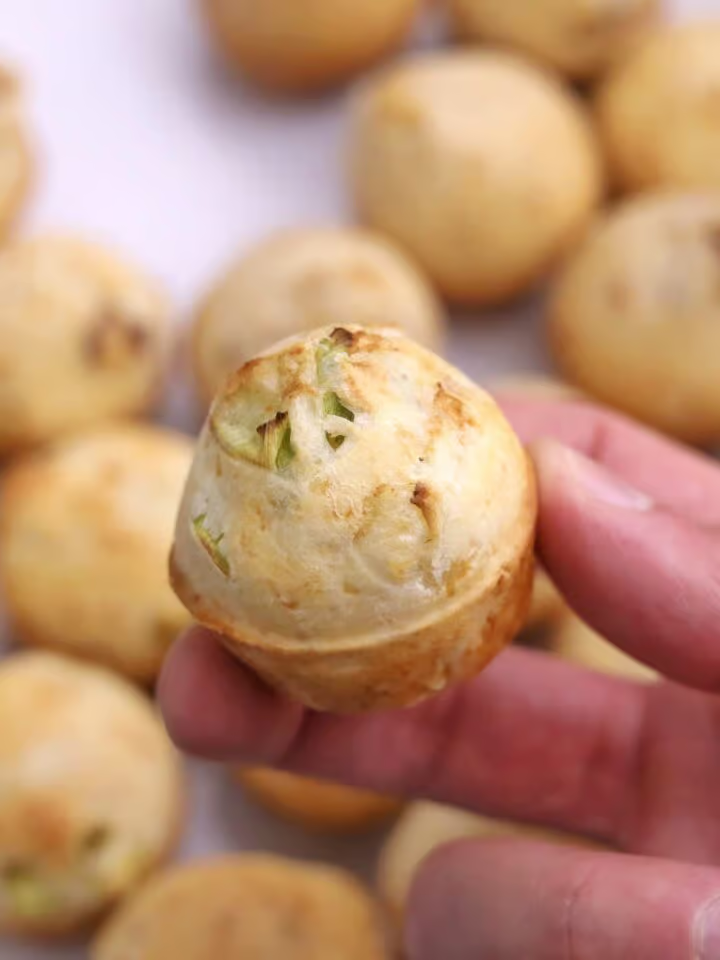
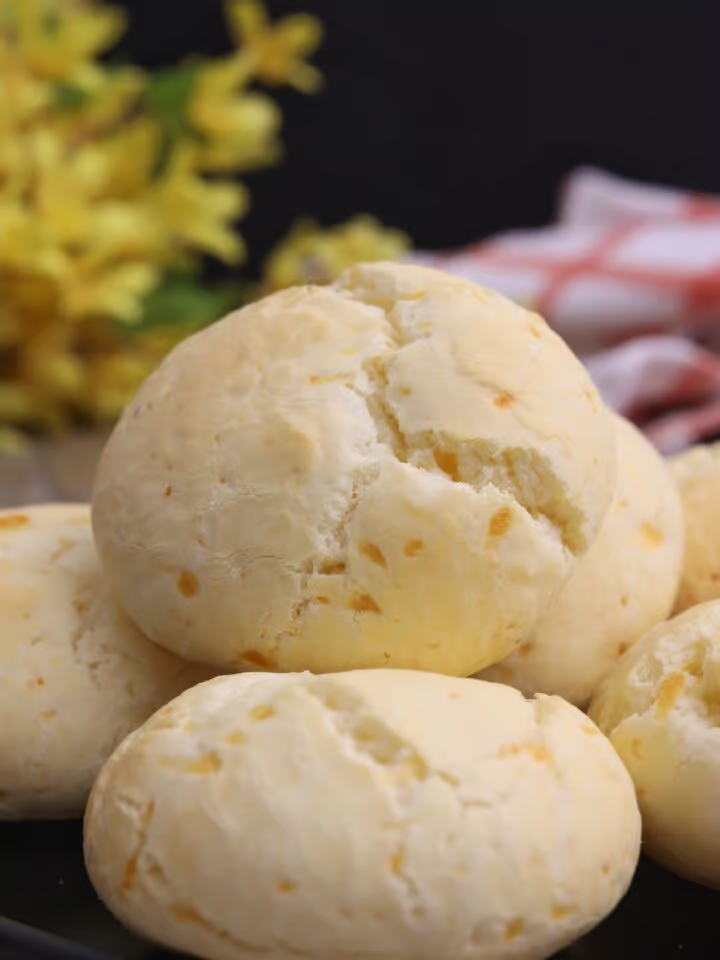
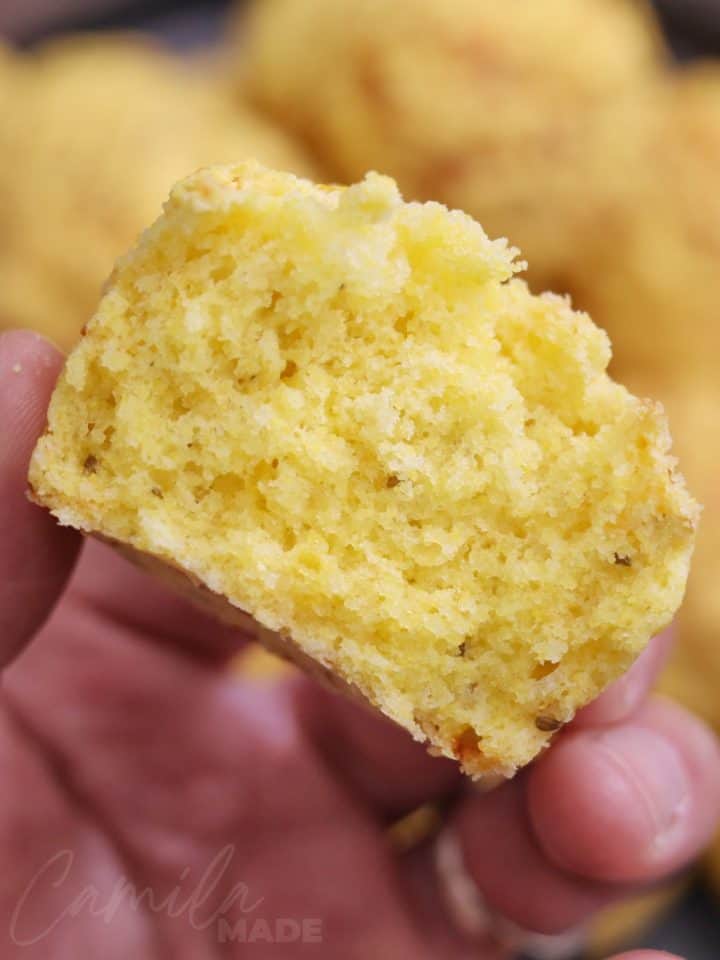
This Chipa Mini Muffins recipe combines the comforting flavors of classic chipa mestizo with a twist. They're made with a blend of cornmeal, cornstarch, tapioca starch, and cheese. The mini muffins have a slightly crumbly, drier texture and a coarser bite.
Whether enjoyed with mate cocido or coffee as a snack or served alongside your favorite meal, they’re easy to make and sure to please. Best of all, they’re gluten-free, so everyone can enjoy them!
Jump to:
 🛒 Ingredients You’ll Need
- Tapioca Starch: Adds chewiness and keeps the chipa tender while maintaining their shape. Gluten-free.
- Quaker Yellow Cornstarch: Creates a tender texture and binds the ingredients together.
- Cornmeal: Provides a delicious corn flavor and texture.
- Baking Powder: Helps the chipa rise and become fluffy.
- Anise: Adds a sweet, licorice-like flavor that enhances the taste.
- Softened Butter: Contributes richness and moisture.
- Eggs: Bind the ingredients and provide structure.
- Semi-cheese: Adds a savory, creamy element. I use Mexican 4-blend shredded cheese.
See the recipe card for quantities.
👩🍳 How to Make Chipa Mini Muffins
Note: Full instructions are provided in the recipe card below.
- Preheat oven to 428°F (220°C) and grease a 24-cup mini muffin tin.
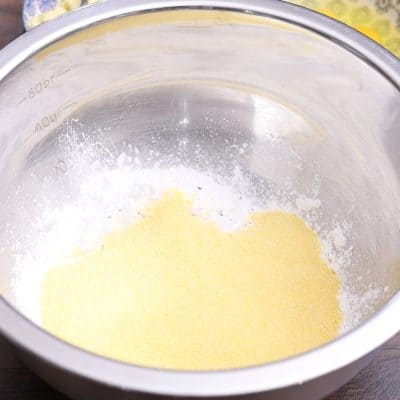
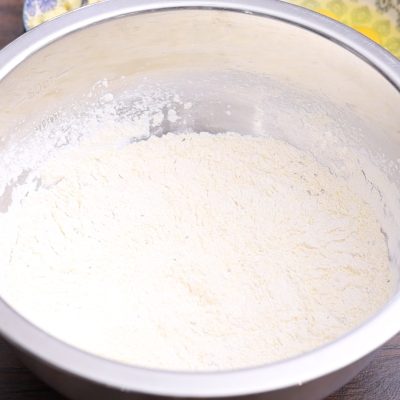
- Mix tapioca starch, cornstarch, baking powder, salt, anise, and cornmeal in a large bowl.
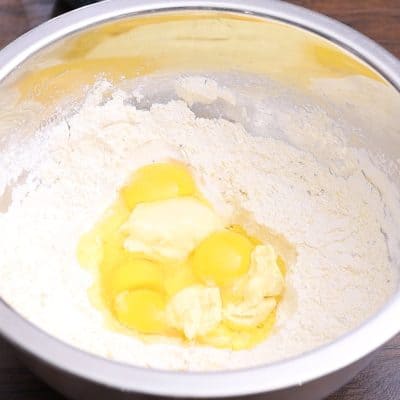
- Add butter and eggs, mixing until smooth.
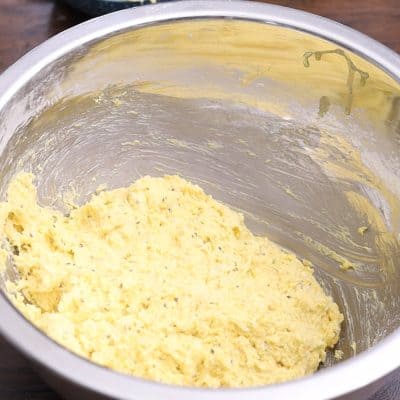
- Add the cheese until fully combined; the batter will be sticky.
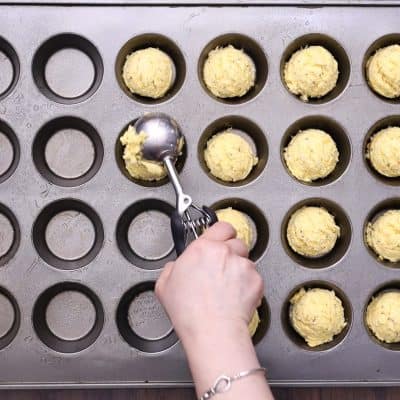
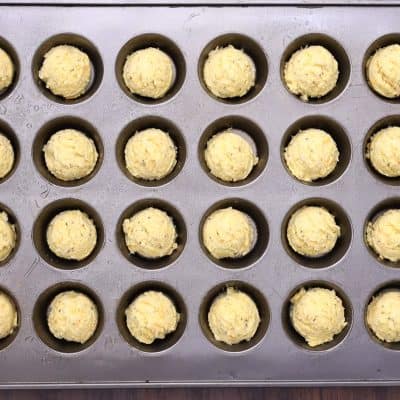
- Spoon batter into the muffin cups using a No. 60 ice cream scoop.
- Bake for 15-18 minutes until golden.
- Cool for 5 minutes, then transfer to a rack. Serve warm.
🍽️ Serving Suggestions
Serve Mini Chipa warm alongside mate cocido, coffee, or tea. They also make a great side for barbecues, soups, and stews.
🫙 Storage & Reheating
Store Chipa Muffins in an airtight container at room temperature for up to 2 days. Reheat in the microwave for a few seconds, but be careful not to overheat, as they can become tough.
❄️ Make Ahead & Freezing
I don’t recommend freezing Chipa, as they taste best when fresh. You can prepare the dough ahead of time and refrigerate it for up to 24 hours before baking. After refrigerating, simply scoop and place it in a muffin pan or roll it out onto a baking sheet, as directed in the recipe.
📝 Camila's Tips & Variations
- Mix-Ins: Mix in finely chopped jalapeños, bell peppers, or corn for added texture and flavor.
- Customize the Cheese: Feel free to get creative with the cheese! You can use a Mexican blend, sharp cheddar, or queso para freir; it works great, too. And if you’re in Paraguay, definitely go for queso Paraguay—just be sure to crumble it.
🛠️ Frequently Asked Questions
Why didn't my Chipa Mini Muffins rise?
Check if your baking powder is fresh. If it’s expired, it won’t provide the necessary leavening. Also, ensure your oven was preheated to the correct temperature.
Can I bake these Chipa Mini Muffins a different way?
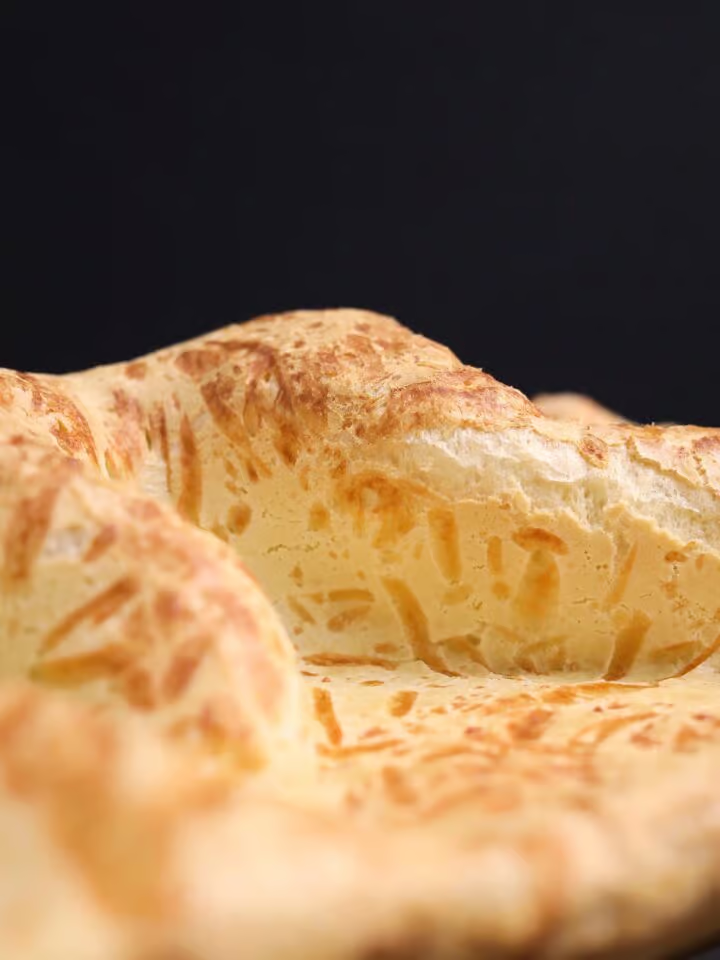
Yes! Instead of scooping right away, let the corn mixture rest for 15 to 20 minutes to make it more manageable. Then scoop the dough, roll it out, place it on a baking sheet, and bake as directed.
🥗 Pairing
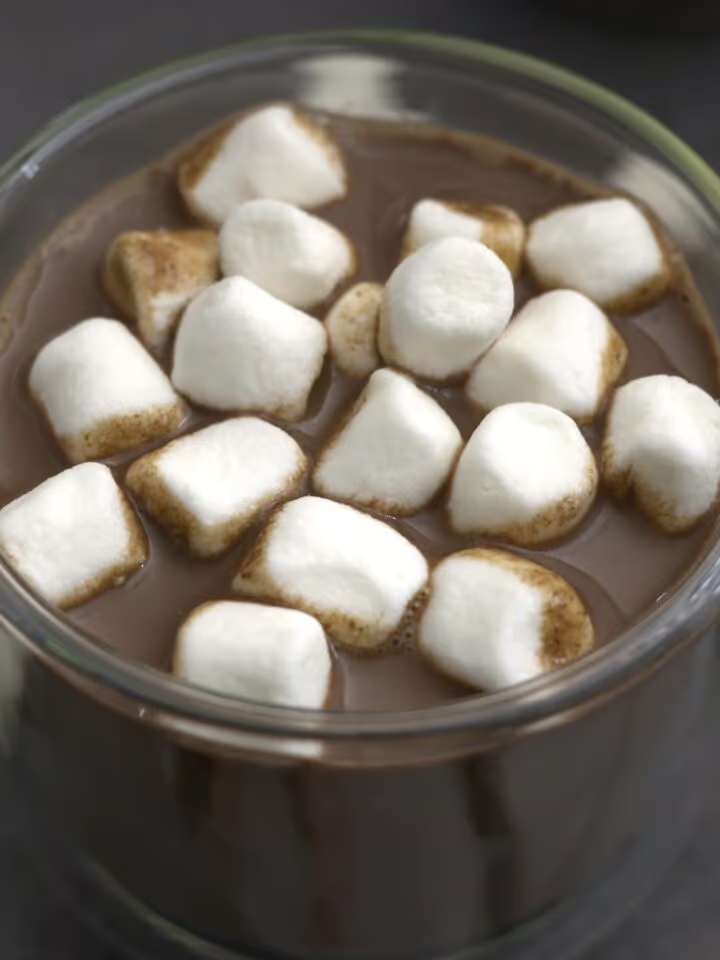
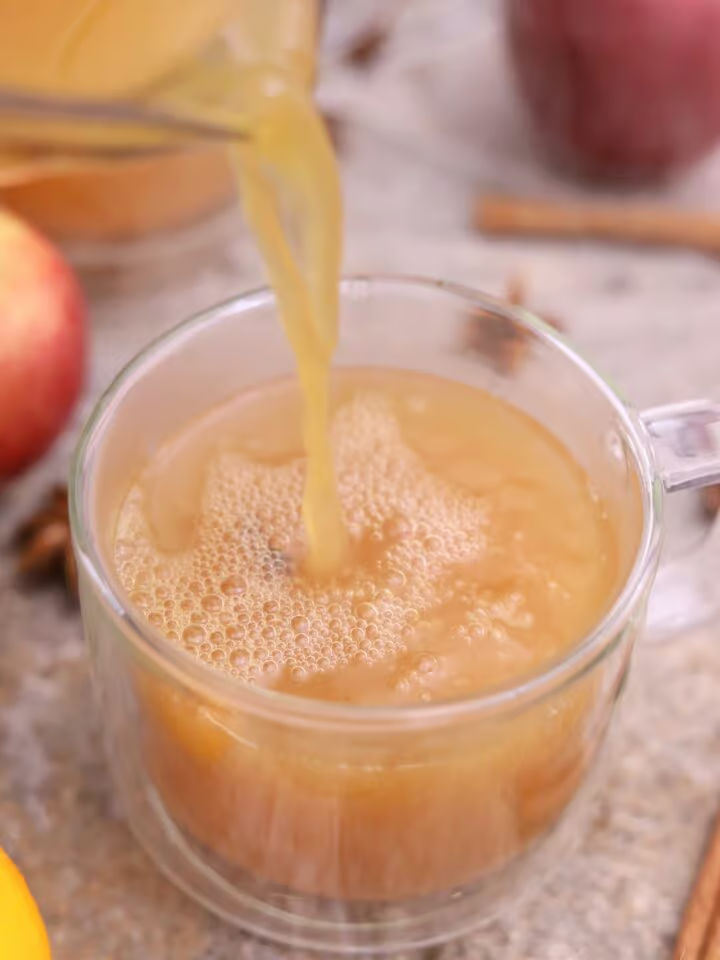
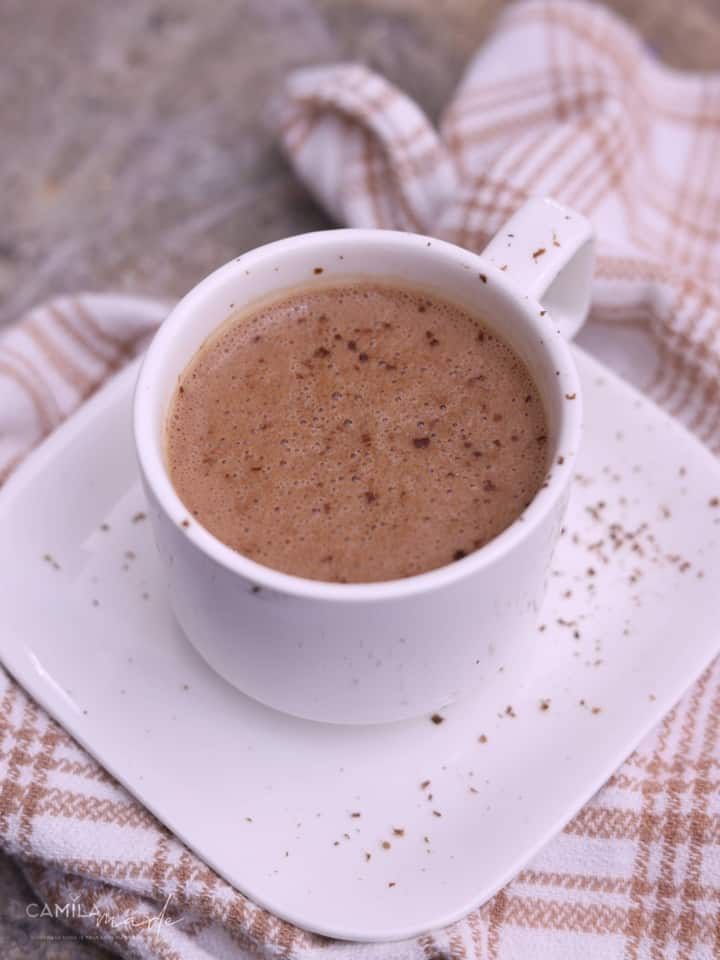
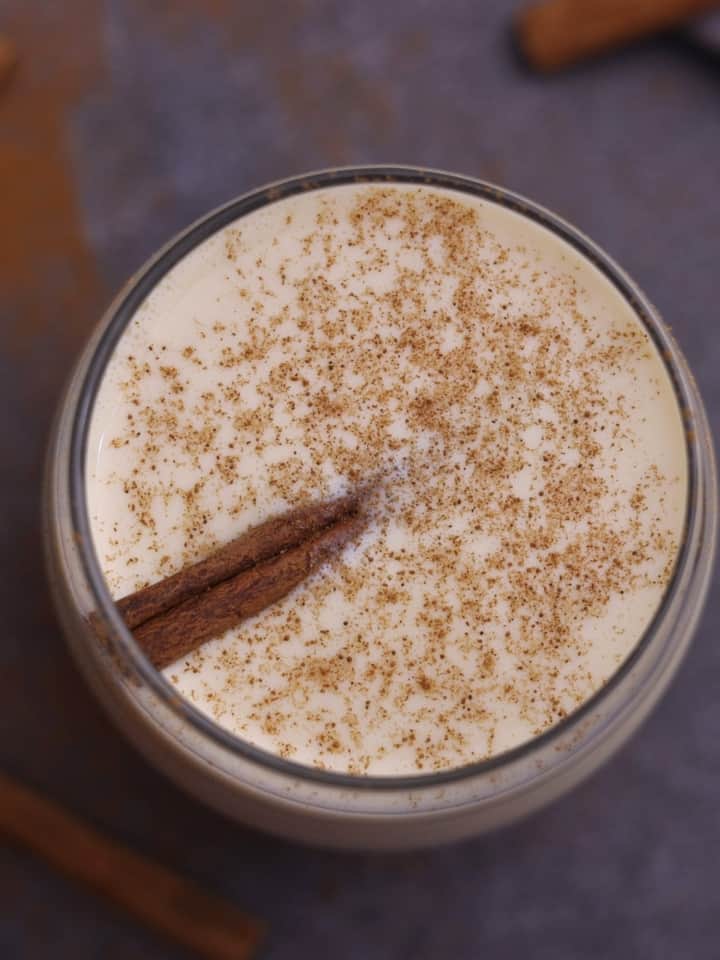
These are my favorite drinks to serve with Chipa:
📋 Related
Looking for other recipes like this? Try these:
📖 Recipe
Chipa Mini Muffins
Tools
- 24-cup nonstick mini muffin pan
Ingredients
- 250 g yuca starch (fecula de mandioca)
- 250 g yellow cornmeal (such as Quaker)
- 100 g cornstarch
- 4 teaspoons baking powder
- 1 tablespoon anise seeds (optional)
- 250 g semi-soft or firm cheese (I use Mexican blend cheese)
- 2 teaspoons kosher salt
- 250 g unsalted butter or fat
- 4 large eggs
Instructions
- Preheat the oven to 428°F (220°C) and grease a 24-cup mini muffin tin.
- In a large bowl, add the tapioca starch, cornstarch, baking powder, kosher salt, anise, and cornmeal, and mix until well combined. Make a well in the center.
- Add the softened butter and eggs to the center, mixing until smooth and creamy.
- Mix in the cheese until fully combined; the batter will be sticky.
- Using a No. 60 ice cream scoop (tablespoon-sized), spoon the batter into the muffin cups.
- Bake for 15 to 18 minutes or until golden brown.
- Let the muffins cool in the tin for 5 minutes, then transfer to a cooling rack. Serve warm.
Notes
All nutritional information is based on third-party calculations and is only an estimate. Each recipe and nutritional value will vary depending on the brands you use, measuring methods, and portion sizes per household.
 🛒 Ingredients You’ll Need