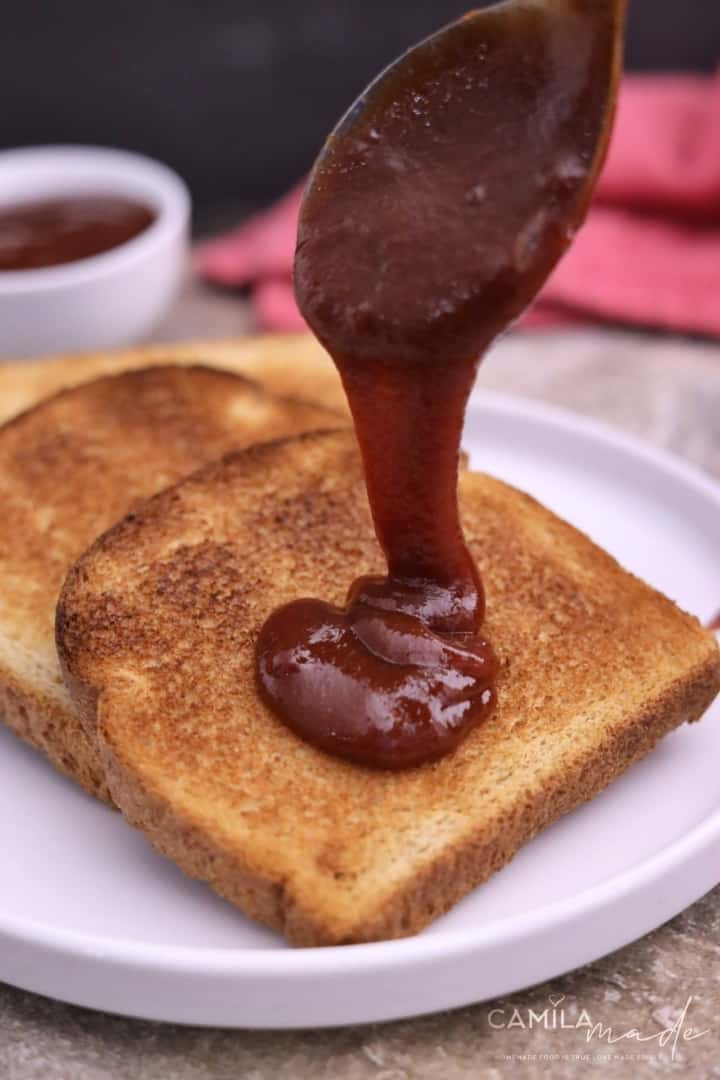
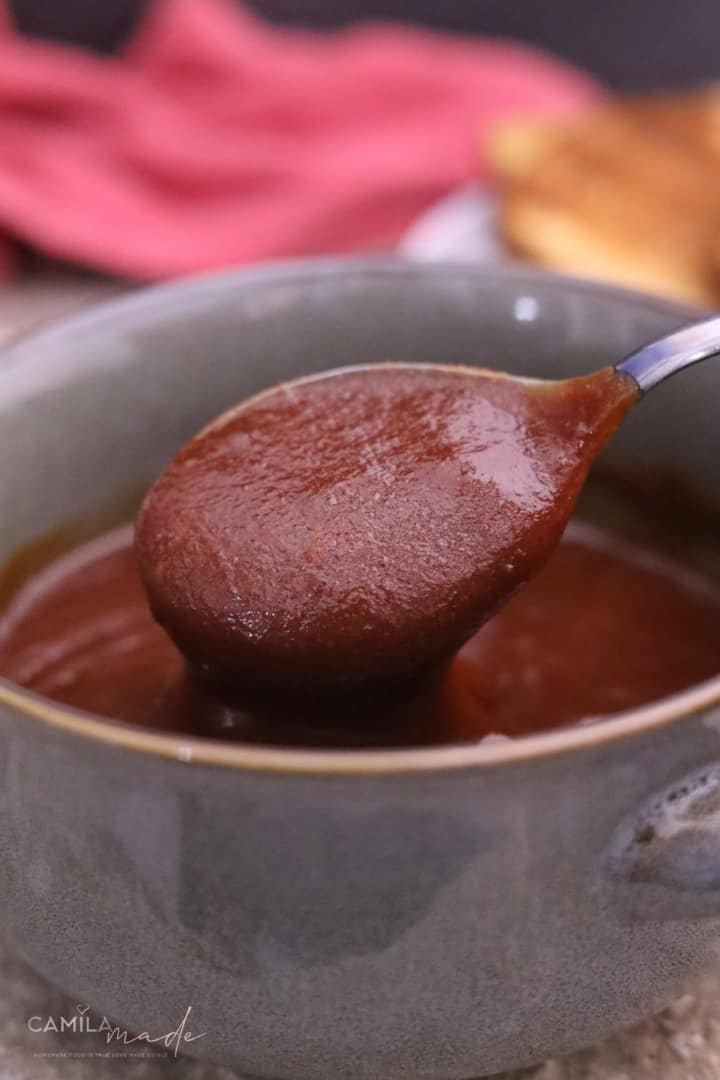
This easy recipe for guava jam is a delicious and versatile way to enjoy the tropical flavors of this fruit. Made from ripe guavas, this delightful preserve requires a bit of time and effort, but the end result is completely worth it. Each step of the process, from preparing the guavas to simmering the mixture, is a labor of love that brings out the tropical flavors in the most delicious way.
With straightforward instructions and using common kitchen tools, you can transform fresh guavas into a luscious jam that will transport your taste buds to a tropical paradise. The natural sweetness of the guavas shines through, creating a rich and vibrant flavor profile that is hard to resist.
Spread this irresistible guava jam on medialunas, warm toast, or freshly baked biscuits for a delightful breakfast treat. Its versatility doesn't stop there – use it as a delectable filling in thumbprint cookies, muffins, bundt cakes, or bars, or swirl it into yogurt for a tropical twist. The possibilities are endless, and each bite will remind you of the love and care that went into making this homemade treasure.
Once you've followed the recipe and created your batch of guava jam, it's important to process and store it properly for long-lasting enjoyment. Follow the recommended guidelines for sterilizing and sealing the jars to ensure the jam stays fresh and safe to consume. Properly stored, your homemade guava jam can be savored for months, allowing you to relish in its delightful flavors whenever you please.
Treat yourself to the wonderful flavors of homemade Guava Jam – it's a simple and satisfying pleasure that brings a taste of the tropics right into your kitchen.
How to Make Guava Jam
Note: The full instructions are provided in the recipe card below.
Wash the guavas thoroughly and remove the top, bottom, and any blemished parts. Cut the guavas into quarters and place them in a large deep heavy pot.
Add half a cup of water to the pot and bring it to a boil. As the guavas cook, they will soften and release their natural juices for about 10 minutes.
Once softened, remove the pot from the heat and let it cool briefly. Blend the guavas using a hand blender or blender until you have a smooth puree.
Pass the guava puree through a strainer to remove the seeds. Alternatively, you can peel and seed the guavas before blending them, using a spoon to scoop out the seeds.
Return the strained guava puree to the pot and add the sugar. Cook the mixture over medium heat, stirring regularly to prevent sticking. Continue cooking until the mixture thickens and reaches a jam-like consistency.
This can take around 30-45 minutes, depending on the water content of the guavas. To check if the jam has set properly, you can perform a gel test. Place a small amount of the jam on a chilled plate or spoon and let it cool.
If it thickens and wrinkles when pushed with your finger, it is ready. If it's not ready, continue to cook, testing every few minutes. Once the jam has reached the desired consistency, remove it from the heat and let it cool slightly.
Pour the hot jam into sterilized jars, leaving a little space at the top. Seal the jars tightly with sterilized lids. Allow the jam to cool completely before storing or enjoying on your favorite bread, pastries, or desserts.
👀👉Camila Made Tips: To sterilize jars, simply preheat your oven to 275 degrees F. Wash each canning jar or mason jar and lid with hot soapy water, then rinse but don't dry them. Place each clean jar on a baking tray and place in the oven for 10 to 15 minutes or so until completely dry. Sterilize the lids by adding to a pot of boiling water and simmering for 5 to 10 minutes. Allow to air dry. The jars and lids are now ready to use; however, always make sure to keep the jars warm until you are ready to fill them to ensure that they don't break when a hot mixture or substance is added.
Related Recipes:
- Guava bars
- Guava Thumbprint cookies
- Cornbread Muffin with Guava
- Guava Cornbread Bundt cake
- Pasta frola
Recipe
Guava Jam
Tools
- Large Heavy Bottom Pot
- Canning Jars
Ingredients
- 1 kg (2.2 lbs 4 oz) ripe guavas fresh ripe guavas, washed, with the top, bottom, and any blemished parts removed
- 1 kg (2.2 lbs 4 oz) granulated sugar
- ½ cup water
Instructions
- Wash the guavas thoroughly and remove the top, bottom, and any blemished parts. Cut the guavas into quarters and place them in a large deep heavy pot. Add half a cup of water to the pot and bring it to a boil. As the guavas cook, they will soften and release their natural juices for about 10 minutes.
- Once softened, remove the pot from the heat and let it cool briefly. Blend the guavas using a hand blender or blender until you have a smooth puree. Pass the guava puree through a strainer to remove the seeds. Alternatively, you can peel and seed the guavas before blending them, using a spoon to scoop out the seeds.
- Return the strained guava puree to the pot and add the sugar. Cook the mixture over medium heat, stirring regularly to prevent sticking. Continue cooking until the mixture thickens and reaches a jam-like consistency. This can take around 30-45 minutes, depending on the water content of the guavas.
- To check if the jam has set properly, you can perform a gel test. Place a small amount of the jam on a chilled plate or spoon and let it cool. If it thickens and wrinkles when pushed with your finger, it is ready. If it's not ready, continue to cook, testing every few minutes. Once the jam has reached the desired consistency, remove it from the heat and let it cool slightly.
- Pour the hot jam into sterilized jars, leaving a little space at the top. Seal the jars tightly with sterilized lids. Allow the jam to cool completely before storing or enjoying on your favorite bread, pastries, or desserts.
- 👀👉Camila Made Tips: To sterilize jars, simply preheat your oven to 275 degrees F. Wash each canning jar or mason jar and lid with hot soapy water, then rinse but don't dry them. Place each clean jar on a baking tray and place in the oven for 10 to 15 minutes or so until completely dry.
- Sterilize the lids by adding to a pot of boiling water and simmering for 5 to 10 minutes. Allow to air dry. The jars and lids are now ready to use; however, always make sure to keep the jars warm until you are ready to fill them to ensure that they don't break when a hot mixture or substance is added.
Notes
All nutritional information is based on third-party calculations and is only an estimate. Each recipe and nutritional value will vary depending on the brands you use, measuring methods, and portion sizes per household.


